An Electric Water Heater is a very simple device but you should have some knowledge not only of electricity but plumbing as well, when you install it. A job like this has a moderate difficulty. However, you might need an extra hand to move it into place as water heaters are fairly heavy. Replacing an old water heater with an electric water heater is a bigger job than only putting a new tank.
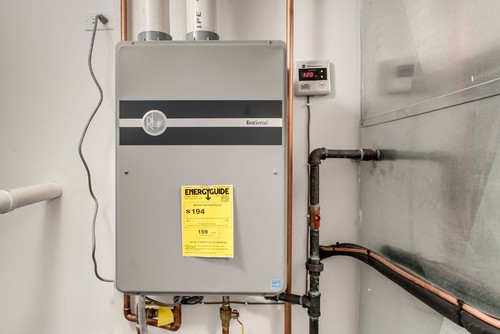
Photo by Steele Consulting Group – Discover home design design inspiration
It is a good idea to plan your installation on paper first. This is a great way to minimize the number of fittings you need.
1. Turn Off the Power: Have adequate electrical power to operate your new electric water heater. Upgrade the power, if necessary. When working on an electric water heater, the first step is to turn off the power. Do not restore power until the job is done. Also make sure the heater is full of water before you restore power; otherwise you will destroy the element.
3. Create a Platform: Where is the convenient spot for the tank, place 2 or 3 concrete blocks on the floor to create a platform for the water heater. These blocks help prevent damage from minor floods and make getting at the drain much easier. Install the tank on top of the blocks.
4. Soldering and Fitting: All you need are a propane or Mapp gas torch; a tubing cutter; some past for soldering; pads of steel wool; a wire brush; lead free solder and of course, tubing and fittings. Soldering copper tubing and fittings is an easy job. You need to respect some rules: The mating surfaces must be cleaned thoroughly and covered with flux, the tubing cuts have to be absolutely square and the fittings can’t be bent or distorted.
a) Cut copper tubing for the cold water supply to the required length. Clean one end with a steel wool pad, and apply flux to both the pipe and a female adapter fitting. Slide fitting onto end of copper tubing.
b) Solder female fitting to copper tubing and the male end of a union onto the other end.
c) Wrap Teflon around threads of pipe nipple on top of the tank. Add the copper tubing and tighten with a wrench.
d) Add a short piece of piping to the union and solder. Then install a ball valve.
e) Remove the temperature and pressure relief valve, add Teflon tape to the threads and reinstall.
f) Make sure the opening points toward the floor. Solder on a length of pipe from the relief valve to 3 to 4 inches above the floor.
5. Install the Water Supply and Fill Tank: Make sure drain valve is completely closed. Turn the main water supply on and open all line valves. When completely filled, clause the faucet(s) and check for leaks.
7. Electrical wires: Feed electrical wires through a piece of conduit, through the connector and into the tank. Before you do any electrical work, ensure that power to the water heater is turned off at the main circuit breaker; if you have fuses, remove them. Attach conduit to connector. Connect the electrical supply according to the manufacturer’s instructions using wire nuts. Attach ground wire to ground screw, and join black wires to black wires and white wires to white wires with wire nuts. Turn on water supply to water heater. Once again be sure the heater is full of water before you restore power.
Papering around Electrical Outlets and Switches: Tips (howtobuildahouseblog.com)


