Wood filler product, also known as grain filler or more commonly as wood putty, covers all imperfections and defects of wood such as deep grains, dents, holes and chips, hiding them and smoothing the wood surface.
Therefore, you can use without any problem wood filler on your wooden stairs to make them more comfortable to walk on and to increase their aesthetic appearance. If you wish an even-colored and perfect finish, you must apply this wood putty after staining the surface of the stairs, because unfortunately stainable wood putty color is rarely identical with the wood surface color. However, with careful application and patience you can hide any wood surface imperfection making it invisible to the naked eye.
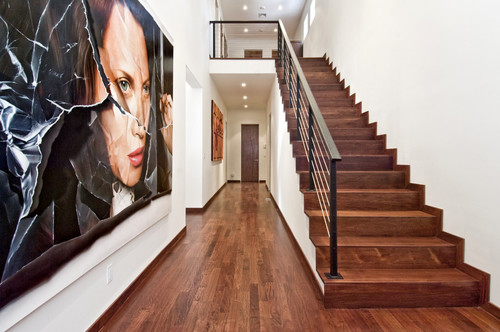
Photo by Phil Kouffman Builder – Search staircase pictures
Anyway it is good idea to choose all the time putty wood filler for your stairs, rather than plastic, because wood filler naturally darkens with the surface of the wood while it ages, preventing in this way an unsightly too strong contrast.
Materials & Tools
- Flathead Screwdriver; Putty knife; Cloth
- Wood Finish;
Steps:
1. First of all, make sure you choose the wood filler that matches with your stair colour as closely as possible. Before staining, you should purchase several samples and allow them to dry. Most hardware and painting stores can provide you many wood filler samples of diverse colors to determine which one matches the best with the colour of the stairs. Allow these samples to dry and compare their colour with the colour of your stairs. Sand a small area of each dried wood filler sample and apply the stain to it. Compare the stained wood filler sample to a wood area with the same wood stain. Now you can choose the right one.
NOTE: You don’t have to choose the wood filler colour if you choose to paint your stairs
2. Start your job wiping all the stair areas that require wood filler with a clean and damp cloth. Make sure that the whole wooden surface is perfectly clean, otherwise debris, dirt and dust may adversely affect the adhesion of the filler. Allow the surface areas several hours to dry.
3. Use a flathead screwdriver or a putty knife to apply the wood filler. Fill the void in the wood, pressing with your tool until the wood filler is flush with the wooden surface.
4. Using again a damp and clean cloth wipe any filler excess from the puttied area. The warm water will also dilute the filler making it to sink into the essence of the wood. Proceed in this way until the whole stair surface is prepared.
5. Do not use these stairs for 24 hours. In this time the wood filler will be perfectly dried. However, you can protect the area placing a piece of paper over it.
6. Following the manufacturer’s instructions apply wood finish stain over your stairs. This finish will protect the wooden surface, preventing further damage. However, you can skip this phase if your wood stairs are already finished.
Building Your Stairs | How To Build A House (howtobuildahouseblog.com)


