Learn how to choose the right tools and materials for bathroom drilling projects. This guide covers essential safety gear, proper surface preparation, and drilling techniques for different surfaces like tiles, drywall, and concrete. Follow our tips for a successful and safe drilling experience, ensure a thorough post-drilling cleanup to maintain a clean and functional bathroom environment.
Choosing the Right Tools and Materials
When embarking on any bathroom drilling project, selecting the appropriate tools and materials is paramount to achieving a successful outcome. A high-quality drill specifically designed for bathroom use is essential. Ideally, a cordless drill with variable speed settings offers versatility and ease of maneuverability in tight spaces, a common characteristic of bathroom environments.

The choice of drill bits is equally crucial, as different surfaces require specific types to ensure efficiency and safety. For instance, carbide-tipped masonry bits are excellent for drilling into tiles and porcelain, while high-speed steel (HSS) bits are suitable for softer materials like drywall. When working with concrete or brick, a hammer drill bit is necessary to penetrate these dense surfaces effectively.
Please, read our post and do not forget to check our YouTube channel “Grig Stamate”:
https://www.youtube.com/@GrigStamate
You will find there, thousands of designing, furnishing, and decorating ideas for your home interior and outdoors.
Allow me to mention one of them:
If You Dream to an EXCLUSIVE BATHROOM – take a closer look here (video)
Safety should never be compromised during any drilling activity, especially in a bathroom where water and electricity may coexist. Essential safety gear includes protective goggles and gloves. Goggles protect your eyes from flying debris, while gloves provide a secure grip on tools and shield your hands from potential injuries.
Beyond the drill and bits, various ancillary materials are indispensable for bathroom projects. Wall anchors and screws are fundamental for securing fixtures or shelving, ensuring they remain firmly in place despite the bathroom’s humid conditions. Measuring tools, such as a tape measure and a level, are necessary for accurate placement and alignment of drilled holes. Additionally, a pencil or marker can be used to mark drilling points, helping to maintain precision throughout the task.
Having the right combination of tools and materials not only streamlines the drilling process but also enhances the safety and durability of the finished project. By investing in appropriate gear and taking necessary precautions, you can confidently undertake any bathroom drilling task with professional results.
Preparing the Bathroom Surface
Before embarking on any drilling project in the bathroom, it is crucial to prepare the surface properly to ensure safety and precision. The first step involves identifying any hidden studs, pipes, and electrical wires within the walls. A stud finder is an essential tool for this task, as it helps locate the studs behind the drywall. For detecting pipes and electrical wires, consider using advanced multi-scanners or detection tools. This precaution prevents accidental damage to critical infrastructure.
Once the hidden elements are identified, marking the drilling spots accurately becomes the next priority. Use a pencil to make small, precise marks on the wall, ensuring they are easily visible. To maintain straight and level lines, a level tool is indispensable. This step is particularly important for installations requiring exact alignment, such as towel bars, shelves, or mirrors.
Cleaning the surface before drilling is another key consideration. Wipe down the area with a damp cloth to remove any dust, grime, or soap residue. A clean surface facilitates better adhesion for any anchors or screws and ensures that your tools operate effectively.
Removing any obstacles in your work area is also necessary. Clear the vicinity of toiletries, decorations, and other items that might hinder your drilling process or get damaged. This not only provides ample space to work but also minimizes the risk of accidents.
Lastly, laying down protective coverings is a practical measure to prevent debris from causing a mess or damaging bathroom fixtures. Use a drop cloth or plastic sheeting to cover the floor and any nearby fixtures. This step is especially useful in maintaining the cleanliness of your bathroom and protecting sensitive surfaces from scratches or dents.
Drilling Techniques for Different Surfaces
Drilling in the bathroom requires specific techniques tailored to different surfaces like tiles, drywall, and concrete. Each surface presents unique challenges and necessitates the use of appropriate tools and methods to achieve clean, precise holes without causing damage. Understanding these techniques will help ensure successful and safe drilling.
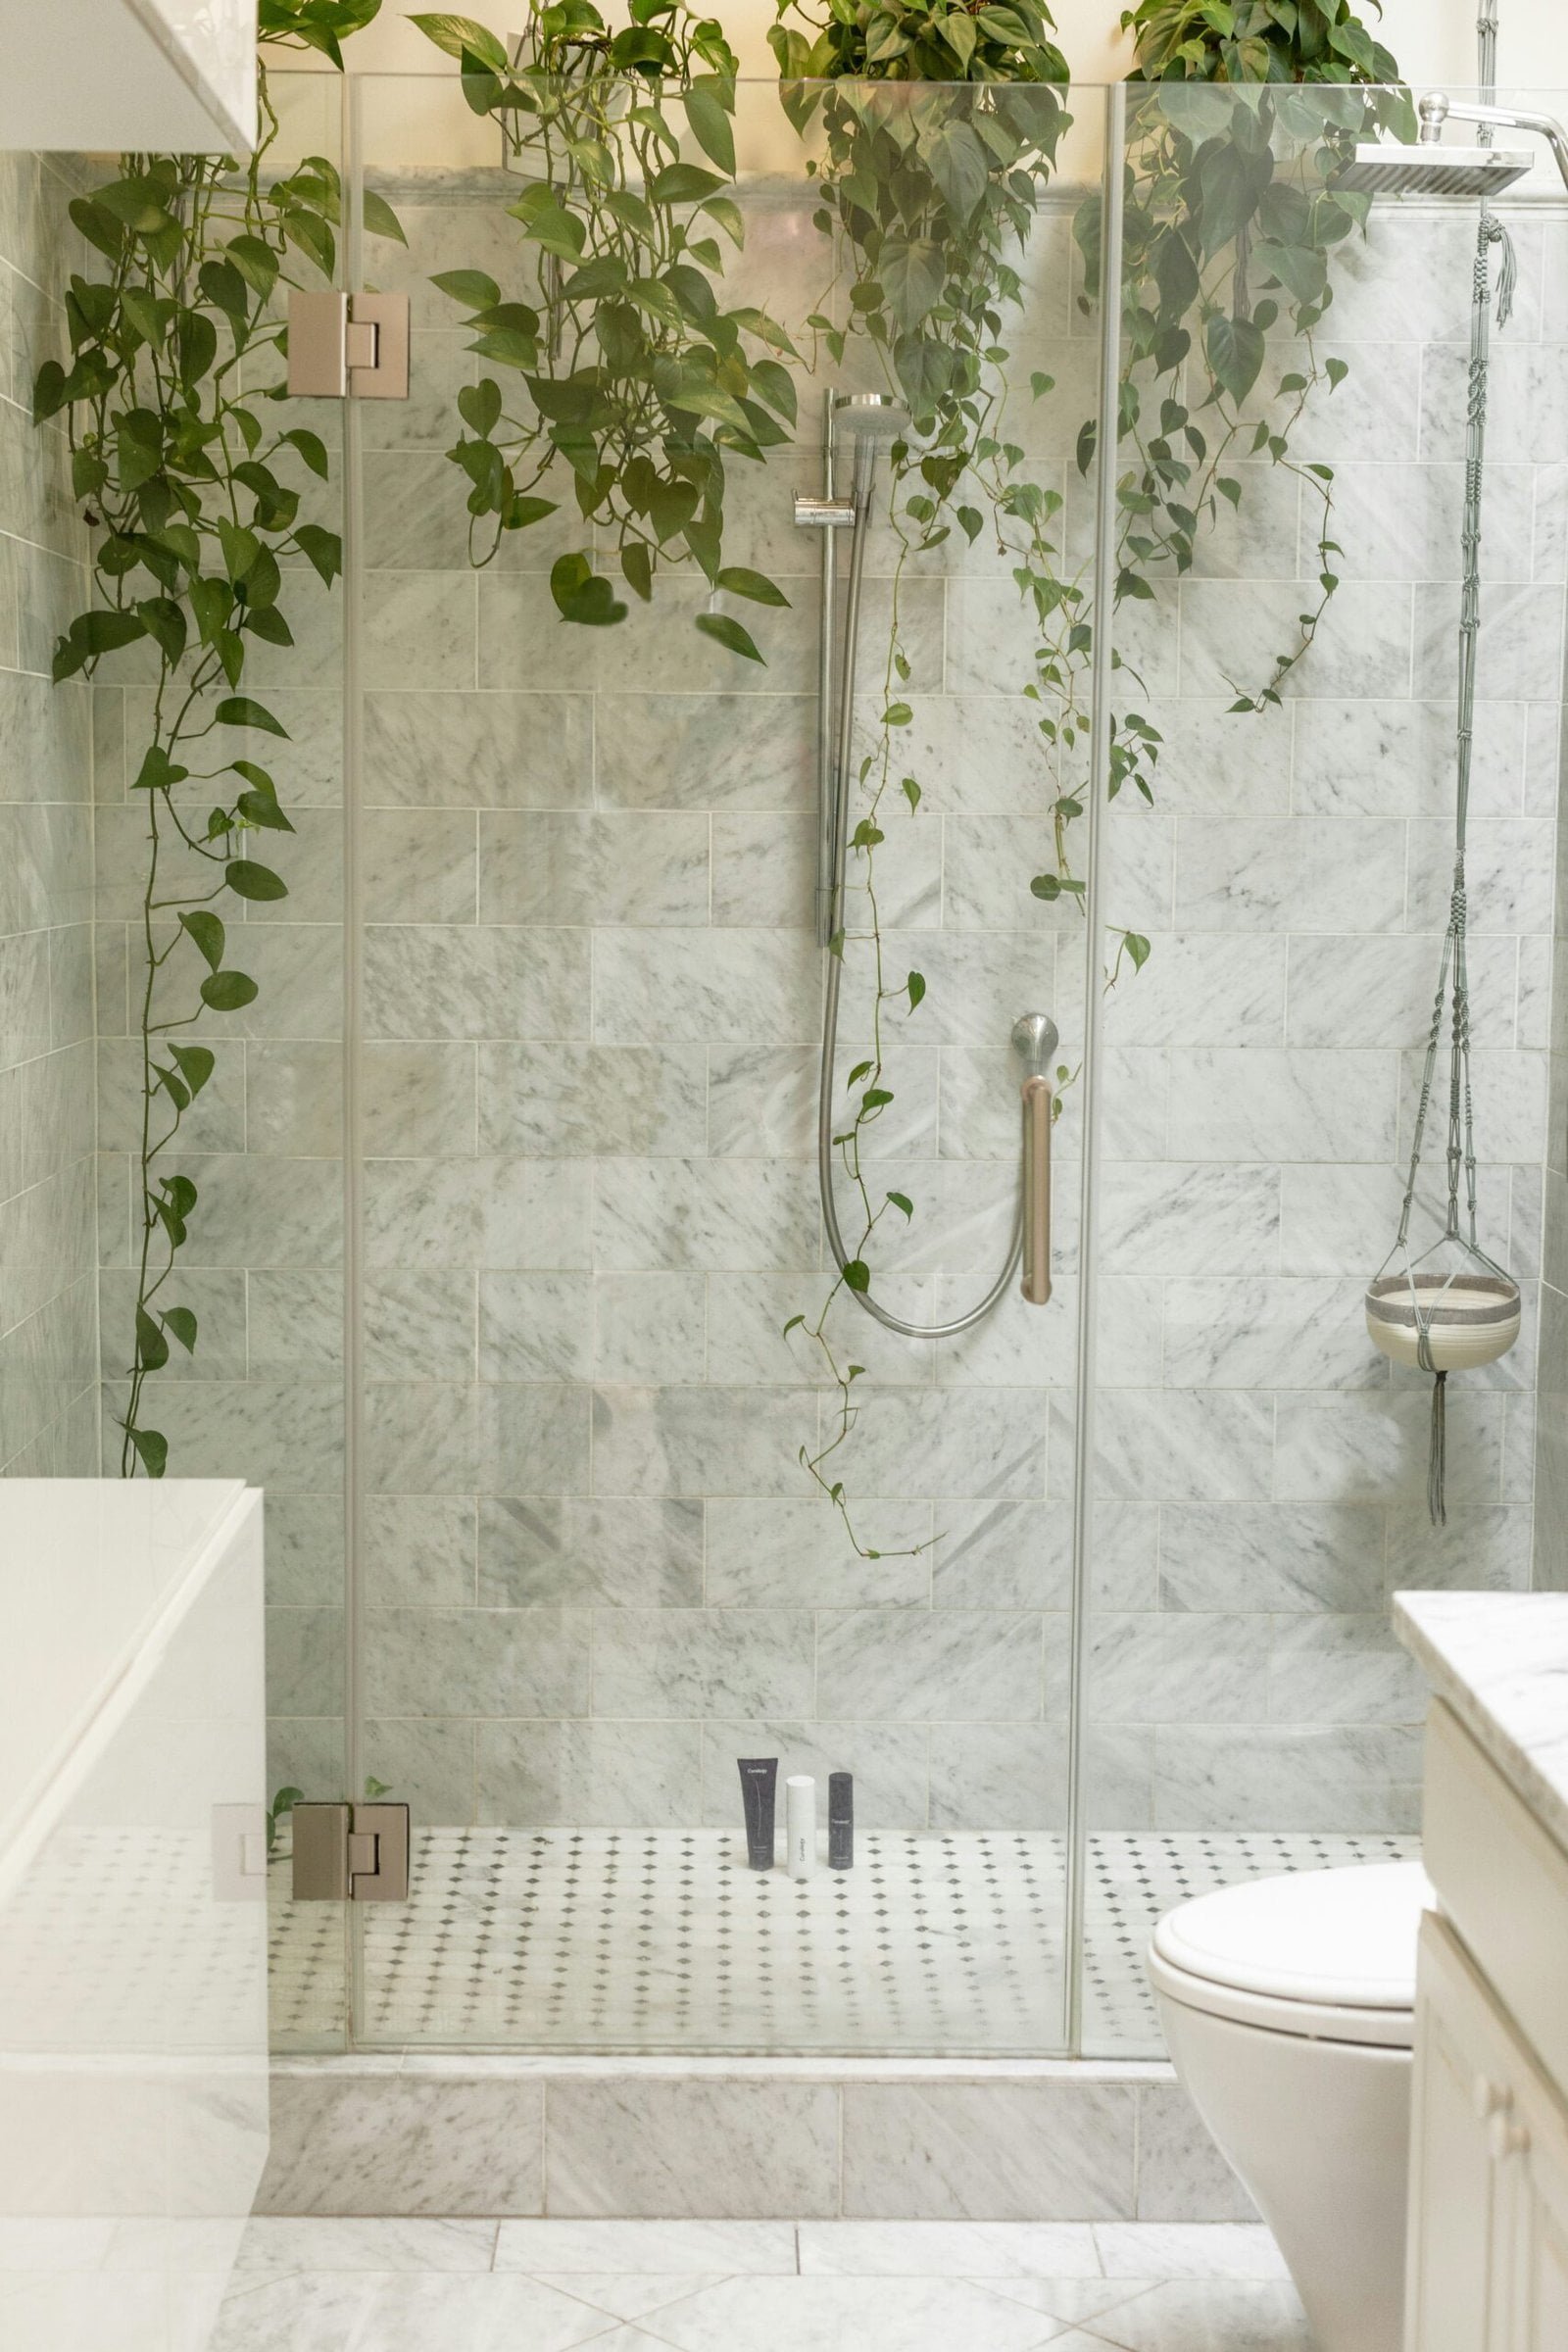
When drilling into tiles, it is crucial to prevent cracking. Start by marking the drilling spot with a pencil. Apply a piece of masking tape over the mark to reduce the risk of the drill bit slipping. Using a specialized tile drill bit, begin drilling at a low speed to penetrate the glazed surface without exerting excessive pressure. Gradually increase the speed once the bit has established a groove. This method will help you achieve a clean hole without damaging the tile.
For drywall, the goal is to avoid creating large, unsightly holes. Begin by selecting a suitable drill bit for drywall. Mark the desired location and gently press the drill against the wall, increasing speed gradually. To ensure stability and secure mounting, use drywall anchors. These anchors will prevent the screws from pulling out, providing a firm hold for items such as shelves or towel racks.
Drilling into concrete surfaces demands a different approach. A hammer drill and a masonry bit are essential tools for this task. Mark the spot and use the hammer drill with a steady, firm pressure. Engage the hammer function to break through the concrete effectively. To manage dust and debris, periodically pull the drill out and clear the hole. Using a vacuum or a damp cloth can also help keep the work area clean.
Regardless of the surface, always prioritize safety. Wear safety goggles to protect your eyes from dust and debris. Ensure the drill bit is securely fastened and the drill is in good working condition. By following these techniques, you can drill in the bathroom efficiently and safely, achieving the desired results without damaging the surfaces.
Post-Drilling Cleanup and Maintenance
After completing your drilling project in the bathroom, it’s crucial to undertake a thorough cleanup to maintain hygiene and ensure the longevity of the fixtures. Begin by removing any debris resulting from the drilling process. Use a vacuum cleaner with a brush attachment to effectively collect dust and small particles from surfaces and corners. For larger debris, a damp cloth can be utilized to wipe down the affected areas. Pay special attention to tiles and grout lines, as dust can settle in these crevices, potentially leading to discoloration or mold growth over time.
Next, check the stability of the newly installed fixtures. Gently apply pressure to ensure they are securely in place and have not loosened during the drilling. If any instability is detected, tighten the screws or bolts as needed. It’s advisable to use a level to confirm that shelves, towel racks, or mirrors are properly aligned. This step not only enhances the aesthetic appeal but also prevents potential accidents.
Maintenance of your drilling tools is equally important. Clean the drill bit by removing any dust and residue. If the bit is coated with material, consider using a wire brush to scrub it clean. Store your drill in a dry place to prevent rusting, and periodically check its battery or power cord for any signs of wear and tear. Regular lubrication of moving parts can extend the lifespan of your drill, ensuring it remains in good working condition for future projects.
In instances where minor damage has occurred, such as small chips or cracks in tiles, prompt action can mitigate further issues. Use a tile repair kit to fill in cracks or chips. For more significant damage, replacing the affected tile might be necessary. Additionally, applying a sealant over repaired areas can protect against moisture and staining.
By following these steps, you can maintain a clean and functional bathroom environment while ensuring that your tools and fixtures remain in optimal condition for years to come.
Other related posts from our website:
https://howtobuildahouseblog.com/freshen-up-the-bathroom-with-paint-of-course-it-works/
https://howtobuildahouseblog.com/everything-you-need-to-know-about-bathroom-renovation/
https://howtobuildahouseblog.com/small-bathroom-heres-how-to-maximize-the-space/
Thank you so much for your attention.
Stay tuned. We will upload many other amazing posts to our website and videos onto our YouTube channel.
Thank you so much.
for your time and attention.
Best Regards
See you to another post,
Bye, Bye


