The Purpose of Rendering
Cement rendering is a mixture composed of cement, sand, lime and plaster that is applied to a concrete, brick, stone or clay surface. This type of finish can have different aspects, in terms of texture and color. It can be painted or clad with small stones or other materials.
Cement rendering is used generally, as an exterior finish and can improve much the overall aspect of the building.

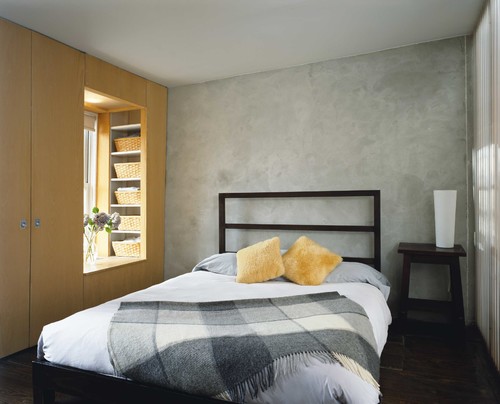
Photo by Delson or Sherman Architects pc – Search bedroom pictures
Cement rendering technology is used by hundreds of years in southern Europe.
Beside its aesthetic appearance, cement rendering finish role is to increase the resistance of building exterior to weathering.
How to Repair an existing Rendered Wall
1. As with any finish work, if you want to have good results, you need a good preparation. Surface cleaning is also important.
2. Check the wall surface and look for any cracks. Check also if the existing rendering is bound to the surface or not. Look for any bubble or check how it sounds the suspect areas. If you can hear, a hollow sound that it means the rendering is not anymore bonded to the surface.
3. Fixing a crack is an easy job.
- You need only, to open wider the crack.
Use a screwdriver or other sharp tool and clean the crack, removing any debris from inside.
Use a trowel and apply mortar compound into the crack, smoothing then the surface.
Allow time mortar compound to cure.
4. Using a power washer, wash thoroughly the wall surface. If it is any possibility of mold, wash the wall with a fungicide.
5. Now, you need to apply a finish render coat.
TIP: Apply the render coat in a thin coat (8-10mm). If the render coat is thicker, it can contract or it can have other curing problems.
Refinement and Elegance – Leather Floors and Walls (howtobuildahouseblog.com)
How to Render a Wall for the First Time
1. Again, preparation of the wall surface is critical for a successful job.
2. Clean thoroughly the wall surface. Treat the surface with fungicide, if it is any possibility of mold.
3. Apply a coat of lime and aggregate on the surface. This coat will increase the bonding and will be the support layer for the following coats.
4. Apply a mortar coat. This coat of mortar is applied by spreading on the wall surface, using a coal shuttle or maybe a harling trowel.
5. Let the mortar layer to cure for five days.
6. Using a trowel, apply the first layer of render in a thin coat (8-10mm). Smooth the surface.
7. Allow time to harden and scour the surface with a polyurethane float. You need a rough surface (for a good adherence), therefore scour this layer in diagonal strokes.
8. Let this coat to cure for another five days.
9. Wet down this coat with a lot of water and apply the final coat.


