In fact hydronic baseboard heater is another name for a hot water baseboard heater. An hydronic baseboard heater use heated water or another heated liquid to control the temperature in a room or area.

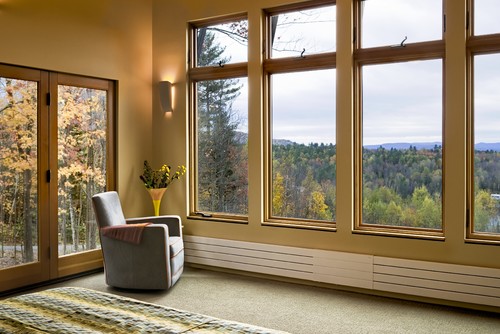
Photo by Smith & Vansant Architects PC – More bedroom ideas
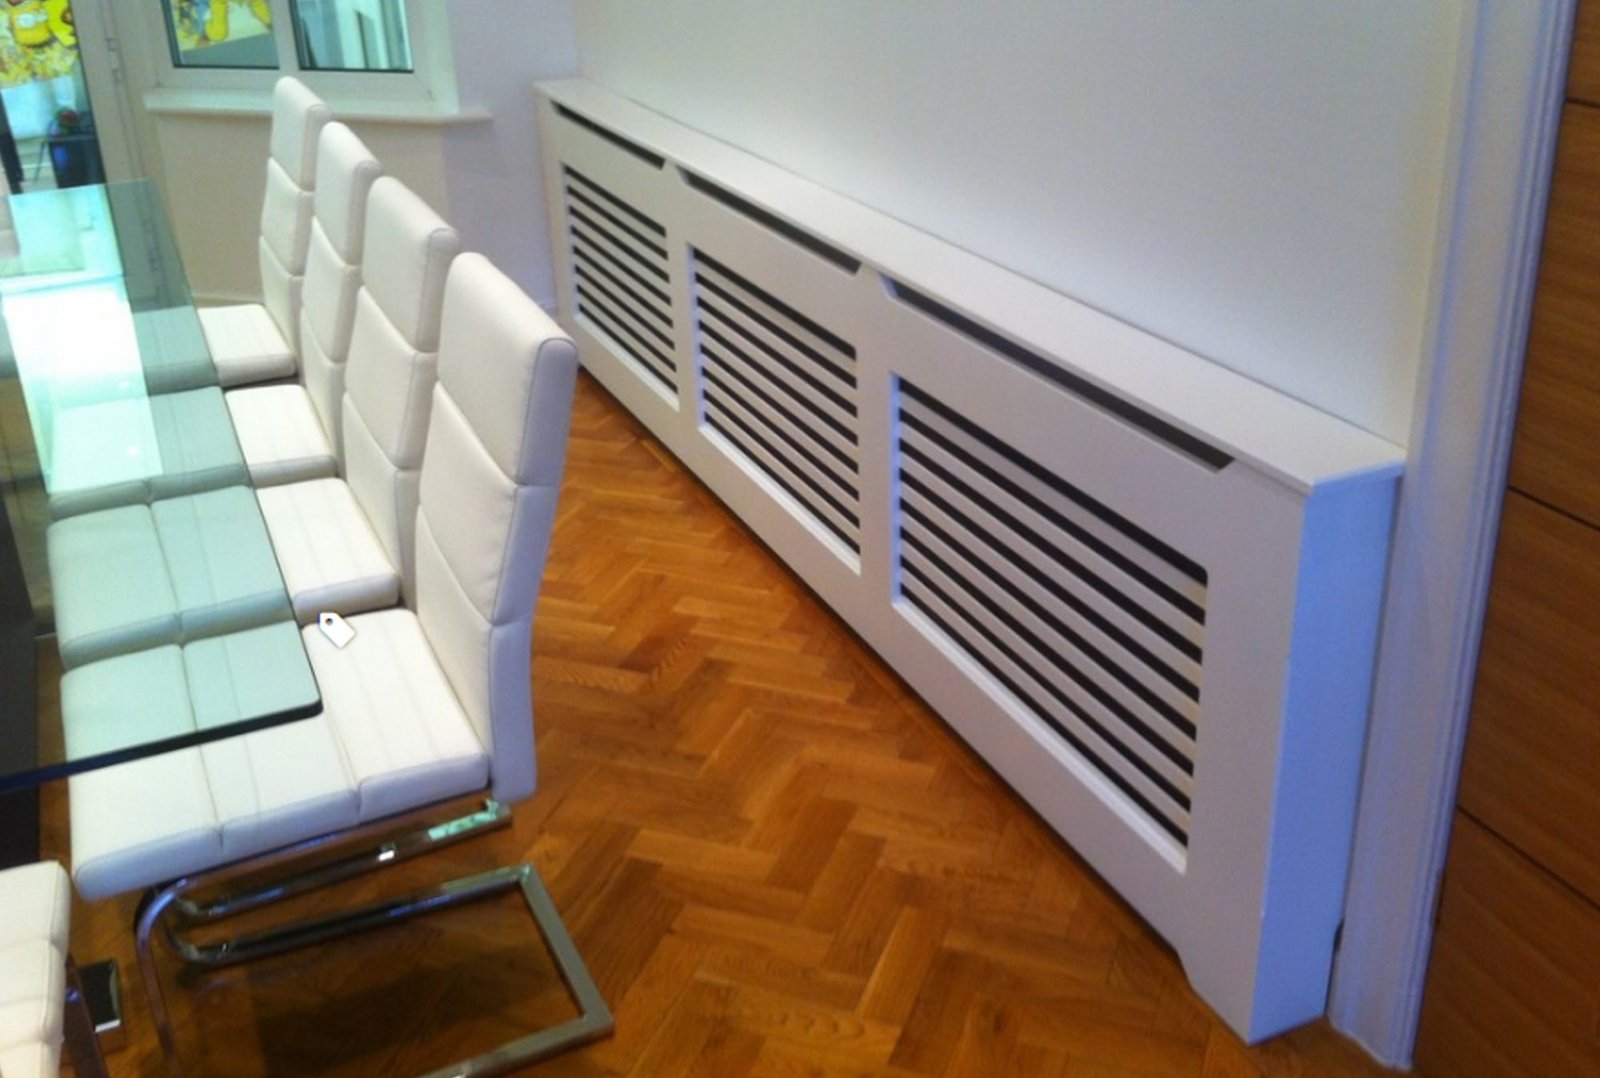
Like electric baseboard heaters, water baseboard (hydronic) panels are located along the base of walls, but unlike them they use hot water, typically provided by a water heating boiler and driven into circulation by a pump.
Location of heater: Any heater should be installed along the floor, and located to provide a blanket of heat over the coldest wall of the room, preferably on an outside wall under a window.
These heaters draw in cool air at the base, which is heated and pushed out of the top of the heater to warm the room.
Heat distribution: An hydronic baseboard heater is clean, responsive and efficient. They do not have any fans in the system, which makes them quiet while in use.
Hot water heated by boiler and piped to “fin-tube” baseboard units mounted along walls. The fins increase the surface area of heat dissipation making the unit more efficient.
Air is distributed by convection as air rises and is heated by the baseboard unit. They heat the room space by a combination of radiation and convention.
Hydronic baseboard technology: The technology behind hydronic heaters has been used since the 1940s and has evolved from cast iron radiators.
Today, modern hydronic heaters are lighter and easier to install than their predecessors. An hydronic system can be separated into zones, with thermostats for each area, allowing for better control over the temperature.
An electric hydronic baseboard heater has a heating element and liquid sealed within the heater, so they do not have to be linked into the household plumbing. These heaters are wired into the household power supply, and most can be wired to a remote thermostat.
Installation: Hydronic baseboard heaters should be fit tightly to the wall in order to prevent the heated air to circulate behind them, heating and damaging walls.
Electric hydronic baseboard heaters are easier to install to an existing structure than one linked to household plumbing, but the wiring required does not allow for easy relocation of a heater.
- These hydronic systems are usually located underneath windows, around three-quarters of an inch/2 cm above the floor. Allow also, minimum clearance of 1” from drapes to ceiling to permit air circulation.
- Hang short drapes to provide of 6” clearance between bottom of drapes and top of heater.
- An hydronic baseboard may be mounted directly to any floor surface, including carpeting. Make sure the flooring material does not obstruct air flow to heater.
- Any hydronic baseboard is designed for surface mounting only. Do not recess the heaters into the hall.
- DO NOT install baseboard heater below electrical convenience outlets.
- High temperatures are present at outlet air openings. Keep electrical cords, drapes and other furnishings or objects clear of these openings.
Mounting and Wiring:
- Locate the area where the heater will be installed. It is preferably on an outside wall under a window.
- Determine which end of the power supply will go into the wall and disconnect the electrical supply at the circuit breaker panel (this heater can be wired from either end).
- Drill the appropriate hole into the wall or floor for the power supply.
- Remove the wiring compartment cover located on the back of the heater and feed the wire through the connector. Leave 6 inches of wire extending into the box for connection. Push any excess cable into the wall.
- Remove the front cover of the baseboard. The front cover is snapped on the element retainer brackets.
- Position the heater on the wall and determine the stud locations.
- Drill 3/16-inch holes with a drill bit in the rear enclosure. Attach the heater to the wall with #8 screws 1-inch long. Press the heater up against the wall and insert the screws through the heater and into the studs. Back out the screws 1/2 inch to allow for expansion.
- Snap the front cover back in place and remove the wiring nut in the wiring compartment. Connect it to the power supply.
- Replace the wiring compartment cover and restore power to the circuit.
- Turn on the thermostat and wait 2-3 minutes to verify that it is operating properly.
Portable electric hydronic baseboard heaters are also available. These heaters can plug into any standard household outlet. They are usually smaller than those wired into the household power, and heat a smaller space. Temperature is controlled by a thermostat directly on the unit.
Advantages & Disadvantages:
Hydronic baseboard heaters have a number of advantages.
- Hydronic baseboard are usually quiet and efficient.
- Being closed systems, these types of heaters don’t require the owner to periodically add liquid.
- These heaters offer a high-prized comfort level.
- The flow of warm air is very constant, without the disadvantages of central air systems.
- Additionally, hydronic heating does not dry out the air, or spread dust or allergens.
However, there are some potential disadvantages.
These heaters take up wall space.
They should not be blocked by furniture, curtains, or other obstructions (provide challenges in furniture placement and drape design).
An hydronic system heats a space relatively slowly, and unlike forced air heating systems.
They are necessarily separate from a cooling counterpart.
The Heating System of the Future – Radiant Heating Panels (howtobuildahouseblog.com)


