Explore the delightful world of flower frames, a charming DIY project that brings the beauty of nature into your home. This comprehensive guide covers the materials needed, step-by-step instructions, and tips for showcasing your creations. Whether using fresh or dried flowers, create personalized frames that hold cherished memories and add vibrant focal points to your living space. Perfect for home décor enthusiasts and those looking to create heartfelt gifts, join us in celebrating the art of flower framing and share your journey with other crafting lovers!
Introduction to Flower Frames
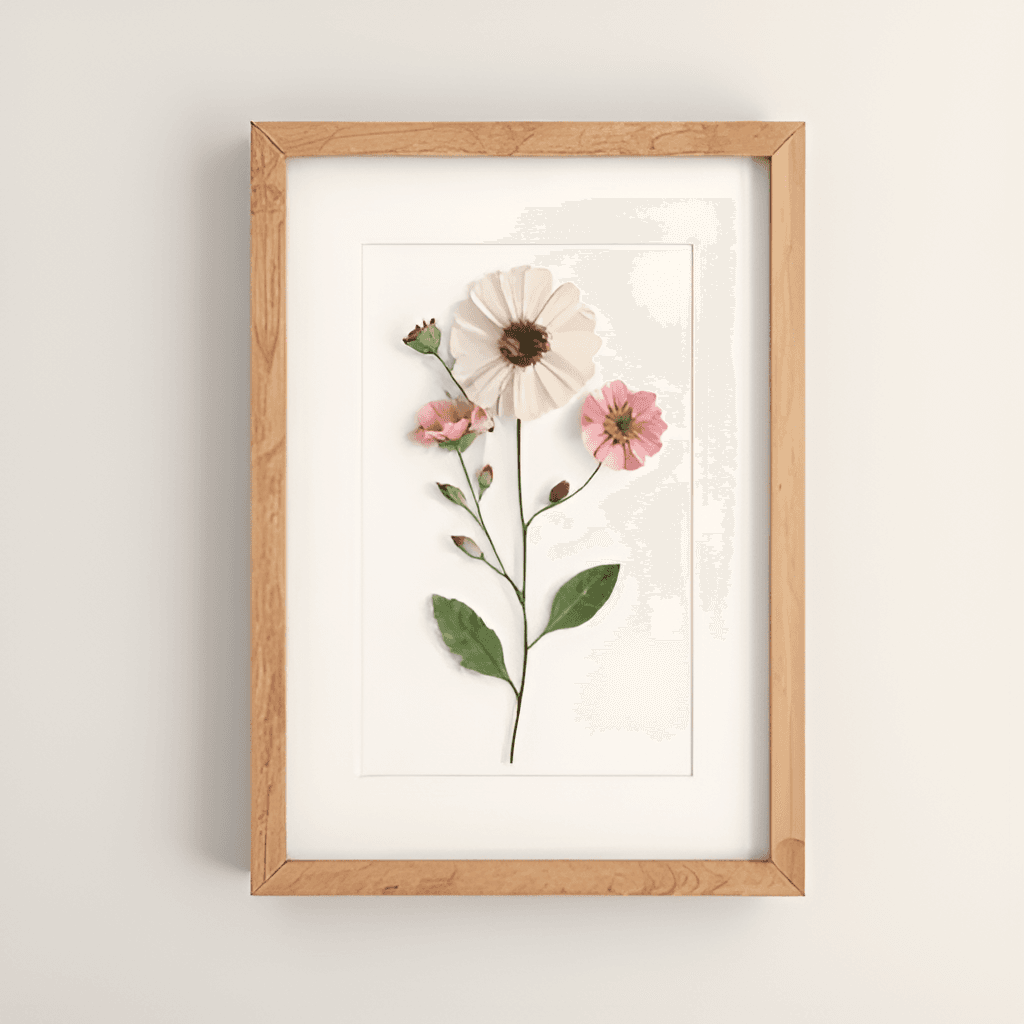
Flower frames are a unique and charming way to incorporate the beauty of nature into your home décor. These artistic creations combine the elegance of fresh or dried flowers with the functionality of picture frames, resulting in a vibrant focal point that can enhance any living space. Unlike traditional frames which may often feel static and uninspired, flower frames breathe life into your walls by showcasing the delicate textures and colors of natural blooms.
The emotional connection many individuals have with flowers cannot be overstated. Flowers are often associated with significant life events, such as weddings, anniversaries, or even memorials. Their presence evokes feelings of love, nostalgia, and joy. When these floral elements are incorporated into frames, they serve as a more profound reminder of special moments and cherished memories, transforming a mere image into a tangible piece of art laden with emotional significance. Each flower frame becomes a celebration of both the memories captured within and the beauty of the natural world.
Please, read our post and do not forget to check our YouTube channel “Grig Stamate”:
https://www.youtube.com/@GrigStamate
You will find there, thousands of designing, furnishing, and decorating ideas for your home interior and outdoors.
Allow me to mention three of them:
How to Warm a MINIMALIST DÉCOR: 60 Fabulous Home Interiors (video)
Interior Design – Tour of Modern Home Interiors, #2 (video)
Decorate with Large Vases | Simple Ways to Create a New Home Interior #16 (video)
Reflecting on my first attempt at creating a flower frame, I remember the excitement that enveloped me as I gathered an array of colorful blooms from my garden. What began as a simple project quickly developed into an enjoyable family activity, as my children joined in on the fun of arranging the flowers. The end product — a frame bursting with colors and scents — transformed from a mere decorative item to a cherished keepsake that holds heartwarming memories of that day. This personal experience highlights not only the joy of creating flower frames but also the potential for these pieces to inspire similar sentiments among others. As we delve deeper into the art of creating flower frames, I encourage you to reflect on your own experiences with flowers and frames, and how they might intertwine to enhance your living space.
Materials You Need
Creating your own adorable flower frames is a rewarding DIY project that allows for creativity and personalization. To get started, it’s essential to gather the right materials. First and foremost, you will need picture frames. These can range from standard wooden frames to more elaborate designs that can complement your flower arrangement. Consider purchasing frames from thrift stores or craft supply shops, as they often provide an array of styles at budget-friendly prices.
Next, you will require flowers. Fresh flowers can add vibrancy and a delightful scent to your frames, while dried flowers provide a long-lasting alternative. Popular choices for this project include roses, lavender, daisies, and gypsophila. Should you find yourself short on fresh flowers, explore your local craft store or online retailers for quality dried florals that can achieve a similar aesthetic. Many supermarkets also have floral departments that sell a variety of fresh blooms at reasonable costs.
Adhesives are crucial for assembling your flower frames. Hot glue guns work exceptionally well for securing flowers to frames, though craft glue or Mod Podge can also be useful in certain applications. A pair of scissors is vital for trimming stems and arranging the flowers to fit your design. Additionally, consider embellishments such as ribbons, beads, or glitter to add a touch of personality to your frames.
For those who may not have all the materials on hand, think creatively! Toilet paper rolls, fabric scraps, or even old greeting cards can be repurposed into frames or decorative elements. I encourage readers to share their favorite materials for DIY flower frames. What do you love to use, and why? This exchange of ideas can enrich our crafting experiences and inspire new projects.
Step-by-Step Instructions
Creating an adorable flower frame is a rewarding DIY project that encapsulates the beauty of nature in a delightful decor piece. Begin by selecting the fresh flowers of your choice. For best results, look for flowers that are slightly wilted, as they tend to press better than completely fresh blooms. Gather your supplies: you will need a flower press (or heavy books), sheet paper, a frame, scissors, and glue.
Start the process by pressing the flowers. Place the flowers between sheets of paper, ensuring they do not overlap, and then position them within your flower press or between two heavy books. Leave them to press for at least a week. Yes, patience is key here! I remember the time I was too eager and checked them too soon, only to find a mushy mess instead of lovely pressed blooms. Letting the flowers dry completely is essential for achieving the best outcome.
Once your flowers are fully pressed, it’s time to arrange them. Take the pressed flowers out carefully, as they can be quite fragile. Play with various configurations on your backing paper before adhering them down. This step is both artistic and joyous—let your creativity shine through! A little anecdote: the first time I attempted this, I ended up with flowers stuck all over my work table, but it made for a good laugh!
Once satisfied with your arrangement, use a small amount of glue to secure the flowers. Ensure to apply only a thin layer to avoid any visible glue stains. Next, place the backing into your frame. The last touch is to hang or place your framed flower masterpiece in a well-lit area where it can brighten your space and share an essence of nature’s beauty.
Feeling inspired? I encourage you to share your adventures or tips as you embark on your own flower frame journey!
Showcase Your Creations!
Once you have completed your adorable flower frames, it is time to celebrate your creative achievements! Displaying your floral masterpieces effectively can enhance the charm of your home while allowing others to appreciate your artistry. Consider dedicating a special wall space to showcase these vibrant frames. Arranging them in a grid pattern or hanging them in a staggered formation can create visual interest and draw attention to your creations.
Moreover, these flower frames make for thoughtful gifts for friends and family. Personalizing a frame with their favorite flowers not only demonstrates your craft skills but also shows that you value them. Incorporating a handwritten note or a heartfelt message within the frame enhances its significance, making your gift even more special.
To foster a sense of community among your fellow flower frame enthusiasts, we encourage you to share photos of your completed frames on social media. By tagging our blog, you can connect with others who share your passion for this delightful DIY project. Sharing your creations can inspire others and create a supportive atmosphere filled with unique ideas and innovative designs.
Additionally, brainstorming seasonal and thematic displays can keep the creativity flowing. For instance, you might create frames adorned with autumn leaves, winter berries, or spring blossoms. Each season provides a fresh palette of materials, encouraging you to explore various designs and color schemes. Consider hosting a DIY night with friends, where everyone can create together while sharing tips and learning from one another.
As you embark on this journey of creativity, don’t hesitate to comment below and share your stories or any additional ideas you may have. We would love to hear about your experiences with this DIY project, and we invite you to embrace the joy of crafting your own flower frames!
Other related posts from our website:
https://howtobuildahouseblog.com/29-easy-diy-projects-to-update-your-home-over-the-weekend/
https://howtobuildahouseblog.com/15-weekend-projects-for-home-and-garden-diyers/
Thank you so much for your attention.
Stay tuned. We will upload many other amazing posts to our website and videos onto our YouTube channel.
Thank you so much.
for your time and attention.
Best Regards
See you to another post,
Bye, Bye

