Over time, dripping water from the shower or bath use seeps between the tub and floor or beneath your finish flooring affecting the wooden part of the sub floor.
There is also, the possibility of a leaky fixture, which can lead to floor to rot. An example might be a shower head that is slightly unscrewed from its rod. Water will leak along the road behind the tiles, settling beneath the floor.

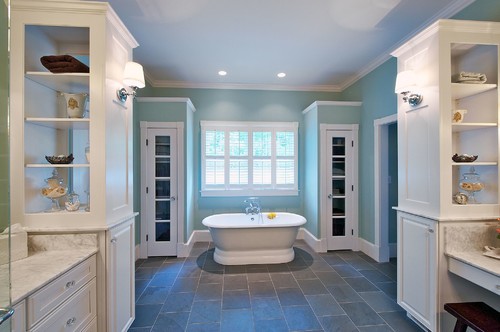
Photo by Timberwolf Designs – Browse bathroom ideas
However, just as well can be toilet tank gasket.
In any case, you should remove the rotten sub floor. It affects your health and safety.
A wet wood sub floor, lead to mold, which thrive in a wet and small size area, such as a bathroom, will thrive and will have serious effects on your health.
And not only. A rotten sub floor has no strength necessary to support the weight of the finish flooring or people using the bathroom. In time, your bathroom floor will have uneven areas. Not to mention the rotted wood unpleasant smell that impregnates the bathroom walls and your stuff.
Therefore, you should remove the rotten sub floor. It is not an easy job but if you know, what you have to do and you are a handy man you can do it.
However, it is better and easier to remove everything and start from scratch than removing only the rotted sub floor elements.
Choosing Tiles for Your Bathroom | How To Build A House (howtobuildahouseblog.com)
Materials & Tools
– Basin Wrench; Groove-Joint Pliers; Screwdriver; Circular Saw; Claw Hammer; Pry Bar; Chisel; Drill; Jigsaw
– Pencil & Paper; Tape Measure; Safety Glasses;
– Nails; Galvanized Screws
1. Remove the Finish Flooring
Remove the existing finish flooring (tiles, linoleum). Check and see which area is affected. Maybe it is not necessary to replace the entire sub floor.
Stick your screwdriver in areas that seem affected. When the wood is wet, the screwdriver penetrates easily.
2. Remove the Fixtures
First, you should shut off the water.
Remove the toilet:
a) Flush the water from toilet basin
b) Remove the water supply pipe
c) Loosen the two nuts securing the toilet
d) Pull out the toilet
Remove all the other fixtures and mark all the openings for plumbing.
3. Find and Fix the Leaky Fixture
Before starting your project, find if you have a leaky fixture and fix it.
4. Remove the Underlayment
Typically, the bathroom underlayment consists of ¾” or 5/8 “plywood sheets on joists.
Using a pry bar lift the plywood. If it resists and you hear a squeak, it means that wood is not touched by rot or mold. Maybe you can save some material.
Using the same pry bar remove all the affected area, plywood and wooden joists.
Remove all the rotten joists.
5. Replace the Joists and the Plywood
Replace the rotten joists with new, sturdy ones.
Replace the old plywood with a new one of the same thickness.
Screw or nail down the plywood to the joists. (It is recommended and more professional to use galvanized screws instead of nails.
However, before installing the plywood do not forget to measure and cut all the openings for your plumbing
6. Put Down the New Underlayment
You have different options such as:
a) Backer board – for tiles
b) Particle board
c) Plywood with a similar thickness


