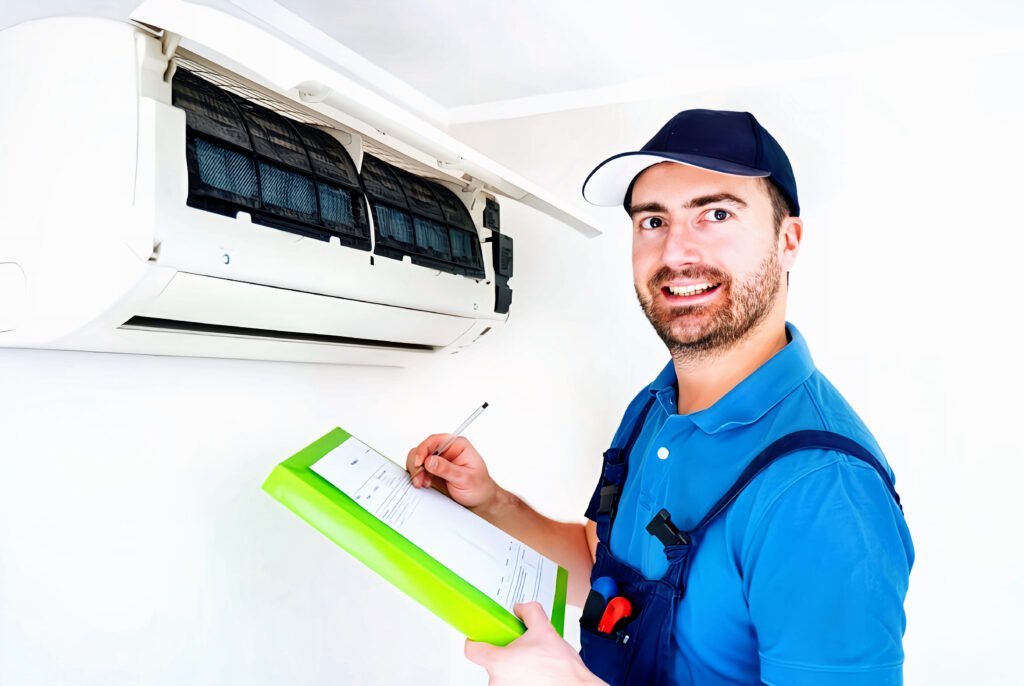
Introduction
Cleaning the air ducts in your home is an essential part of maintaining good indoor air quality. Over time, dust, hair, and other debris can accumulate in the ductwork, reducing the efficiency of your HVAC system and potentially causing health issues. In this guide, we will walk you through six easy steps to clean your air ducts and get rid of any trapped debris.
Read this article and do not forget to check our YouTube channel “Mark J. Schmidt – MoveMeMark.com” for amazing videos:
https://www.youtube.com/@MoveMeMark
Pros and Cons of Air Duct Cleaning – Is It Worth It? (video)
Step 1: Gather the necessary tools and equipment
Before you begin cleaning your air ducts, it’s important to gather all the necessary tools and equipment. Here’s a list of items you’ll need:
- A screwdriver or drill
- A vacuum cleaner with a hose attachment
- A stiff-bristle brush
- A broom or mop
- A bucket of warm water
- All-purpose cleaner
- A microfiber cloth
- Protective gear such as gloves and a dust mask
Step 2: Turn off the HVAC system
Before you start cleaning, make sure to turn off your HVAC system. This will prevent any dust or debris from being circulated throughout your home while you’re working on the air ducts.
Step 3: Remove the vent covers
Using a screwdriver or drill, carefully remove the vent covers from the air ducts. Place them in a safe location where they won’t get damaged.
Step 4: Clean the vent covers and grilles
Take the vent covers and grilles to a sink or bathtub and wash them with warm water and all-purpose cleaner. Use a stiff-bristle brush to scrub away any dirt or grime. Rinse them thoroughly and let them dry completely before reinstalling.
Step 5: Clean the air ducts
Attach the hose attachment to your vacuum cleaner and carefully insert it into each air duct, reaching as far as you can. Move the hose back and forth to dislodge any dust or debris. If you come across any stubborn dirt or hair, use a stiff-bristle brush to loosen it before vacuuming it up.
Step 6: Clean the surrounding area
Once you’ve finished cleaning the air ducts, it’s important to clean the surrounding area as well. Use a broom or mop to sweep up any dust or debris that may have fallen during the cleaning process. Wipe down the walls, ceiling, and floor around the air ducts with a microfiber cloth and all-purpose cleaner.
Conclusion
Cleaning your air ducts is a simple yet important task that can greatly improve the air quality in your home. By following these six easy steps, you can effectively remove dust, hair, and other debris that may be trapped in your air ducts. Remember to perform this cleaning process regularly to maintain a healthy and efficient HVAC system.
Other related posts from our website:
https://howtobuildahouseblog.com/how-to-clean-your-dishwasher-and-prevent-smelly-build-up/
https://howtobuildahouseblog.com/tricks-and-tips-to-disinfect-and-clean-your-home-wooden-furniture
https://howtobuildahouseblog.com/how-to-organize-and-clean-up-properly-your-refrigerator/
Thank you so much for your attention.
Stay tuned. We will upload many other amazing posts to our website and videos onto our YouTube channel.
Thank you so much.
for your time and attention.
Best Regards
See you to another post,
Bye, Bye


No Responses