What is Wainscoting?
Wainscoting is a wall covering style made usually from wood. In fact, these raised wooden panels are covering and protecting the bottom of an interior wall from dents or scuffs. This is typical of a traditional living room, having a great aesthetic look.
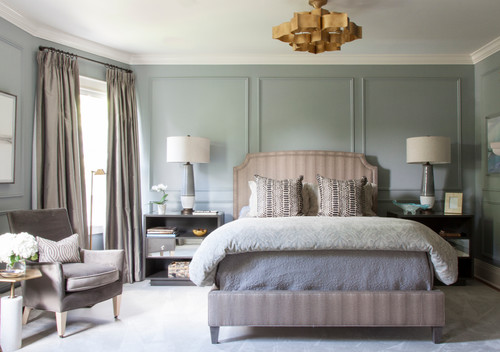
Photo by Mimi & Hill interiors – Look for bedroom pictures
Wainscoting can be priceless, depending on the type of wood used, raising the overall value of your home. For example, ebony or mahogany wainscotings are extremely valuable. Not to mention the complexity of work and details.
However, if you are a handyman, familiar with carpentry, and you are using inexpensive wooden panels, then you can install wainscoting yourself. If your wall is board and batten wall you have to remove the batts (wooden strips that cover the seams where the boards join) on the lower part of wall, first.
Your Home Interior Style and the Staircase (howtobuildahouseblog.com)
Wainscoting Installation Steps
1. First, you need to measure the height of your future wainscoting. You can choose any size you want but usually standard height is 32 or 34 inches. However, you should add 2 or 3 inches to your measures for the wainscoting cap.
2. Draw a chalk line along the wall at your desired height (wainscoting height + cap).
3. Using a handsaw cut the batts along this drawn line.
4. Using a flat bar remove the cut batts from the lower part of wall.
5. Clean area of nails and keep the batts from above the line.
6. Next step is the installation of the wainscoting cap. You can do that aligning the cap with the chalk line. If necessary, push the wainscoting cap in the bottom of the left batts. Wainscoting cap must be perfectly aligned with chalk line.
7. Set the wainscoting cap using 4D finishing nails, at a distance of eight inches of each other.
8. When installing wainscoting start from a corner. Leave a ¼-inch distance between the bottom of the wainscoting and floor. Using 4D finishing nails nail the panel in place. Before nailing, make sure the grooved edge of the panel s in the corner, and insert four more nails in the tongue.
9. Install the second wainscoting panel near the first pushing the grooved edge.
10. Continue installation of the wainscoting panels. When an electrical outlet is in your way, take off the outlet cover, measure and cut a hole in the wainscoting panel to fit around it.
11. Measure the last panel and cut the excess.
12. Finishing:
- – Install the baseboard
- – Install scribe molding in the corners
- – Fill all the nail holes with wood putty. Make sure the wood putty matches the wainscoting holes.


