Choosing the Right Tools and Materials
When it comes to hanging pictures on a wall, selecting the appropriate tools and materials is crucial for ensuring both the safety and aesthetic appeal of your display. The first step involves understanding the types of hanging hardware available, such as hooks, nails, and screws, and their respective weight capacities. Light-duty hooks are suitable for frames weighing up to 10 pounds, while heavy-duty hooks can support up to 50 pounds. For even heavier frames, consider using wall anchors or screws, which offer greater stability.
Please, read our post and do not forget to check our YouTube channel “Grig Stamate”:
https://www.youtube.com/@GrigStamate
You will find there, thousands of designing, furnishing, and decorating ideas for your home interior and outdoors.
Allow me to mention one of them:
What to Hang Above Living Room Sofa? | Creative decorating Ideas (2) (video)
Using a level, measuring tape, pencil, and stud finder is essential for accurate placement. A level ensures that your picture hangs straight, while a measuring tape helps you determine the exact spot for installation. Mark the intended position lightly with a pencil. A stud finder is particularly useful for locating wooden studs behind drywall, providing a sturdier anchor point for heavier frames.
Adhesive strips are an excellent option for lightweight frames or when you prefer not to make holes in the wall. These strips are easy to apply and remove, minimizing damage to the wall surface. For frames that require height adjustments, using picture hanging wire can be beneficial. This allows for minor changes without needing to reposition nails or hooks.
The type of wall you have also plays a significant role in selecting the right hanging hardware. For drywall, standard picture hooks or nails usually suffice, but using wall anchors can provide additional support for heavier frames. Plaster walls, being more fragile, often require specialized hooks designed to distribute weight more evenly. Brick walls necessitate masonry nails or screws with anchors for secure attachment.
By carefully considering the weight of your frame, the type of wall, and using the appropriate tools and materials, you can ensure that your pictures are hung safely and securely. This thoughtful approach not only protects your walls and frames but also enhances the overall presentation of your artwork or photographs.
Preparing Your Wall and Frames
Before you begin the process of hanging pictures, it is crucial to prepare both the wall and the picture frames to ensure a smooth and secure installation. Start by cleaning the wall surface where you intend to hang the frames. Dust and dirt can prevent proper adhesion of hooks or nails, so use a damp cloth or mild cleaner to wipe the area thoroughly. Allow the wall to dry completely before proceeding.
Next, plan the layout by arranging the frames on the floor. This step helps you visualize the final look and allows you to experiment with different configurations until you find the most aesthetically pleasing arrangement. Take your time with this phase, as a well-thought-out layout is key to achieving a harmonious display.
Once you have settled on the arrangement, use a measuring tape to determine the exact spots for hooks or nails. Mark these spots lightly with a pencil on the wall. Ensure even spacing and alignment by using a level and a ruler. This meticulous approach guarantees that your frames will hang straight and evenly, contributing to a polished appearance.
When dealing with different wall types, it is important to use the appropriate hardware. Drywall, plaster, brick, and concrete each require specific methods and tools for hanging frames securely. For instance, drywall may need wall anchors, whereas brick might require masonry screws. Take the time to research or consult with a professional if you are unsure about the best approach for your wall type.
Additionally, be mindful of potential obstacles behind the wall surface, such as electrical wiring or plumbing. Use a stud finder or an electrical tester to avoid damaging hidden utilities. If you encounter any resistance while drilling or hammering, stop immediately and reassess the situation to prevent costly mistakes.
By thoroughly preparing your wall and frames, you set the stage for a successful and safe picture-hanging experience. This careful preparation ensures that your frames will not only look great but will also remain securely in place for years to come.
Hanging Your Pictures: Techniques and Tips
When it comes to hanging pictures, precision and security are paramount. To start, it is essential to locate the studs in your wall, especially if you are hanging heavy frames. A stud finder can be a valuable tool for this purpose. Simply run the stud finder along the wall until it indicates the presence of a stud. Mark this spot lightly with a pencil.
For lighter frames, picture hooks and small nails are often sufficient. When using hooks, ensure they are rated for the weight of your frame. Drive the nail into the wall at an angle to provide additional support. For heavier frames, consider using wall anchors or screws. Anchors are particularly useful for drywall, as they provide a secure hold. To install, drill a pilot hole, insert the anchor, and then screw in the hook or screw.
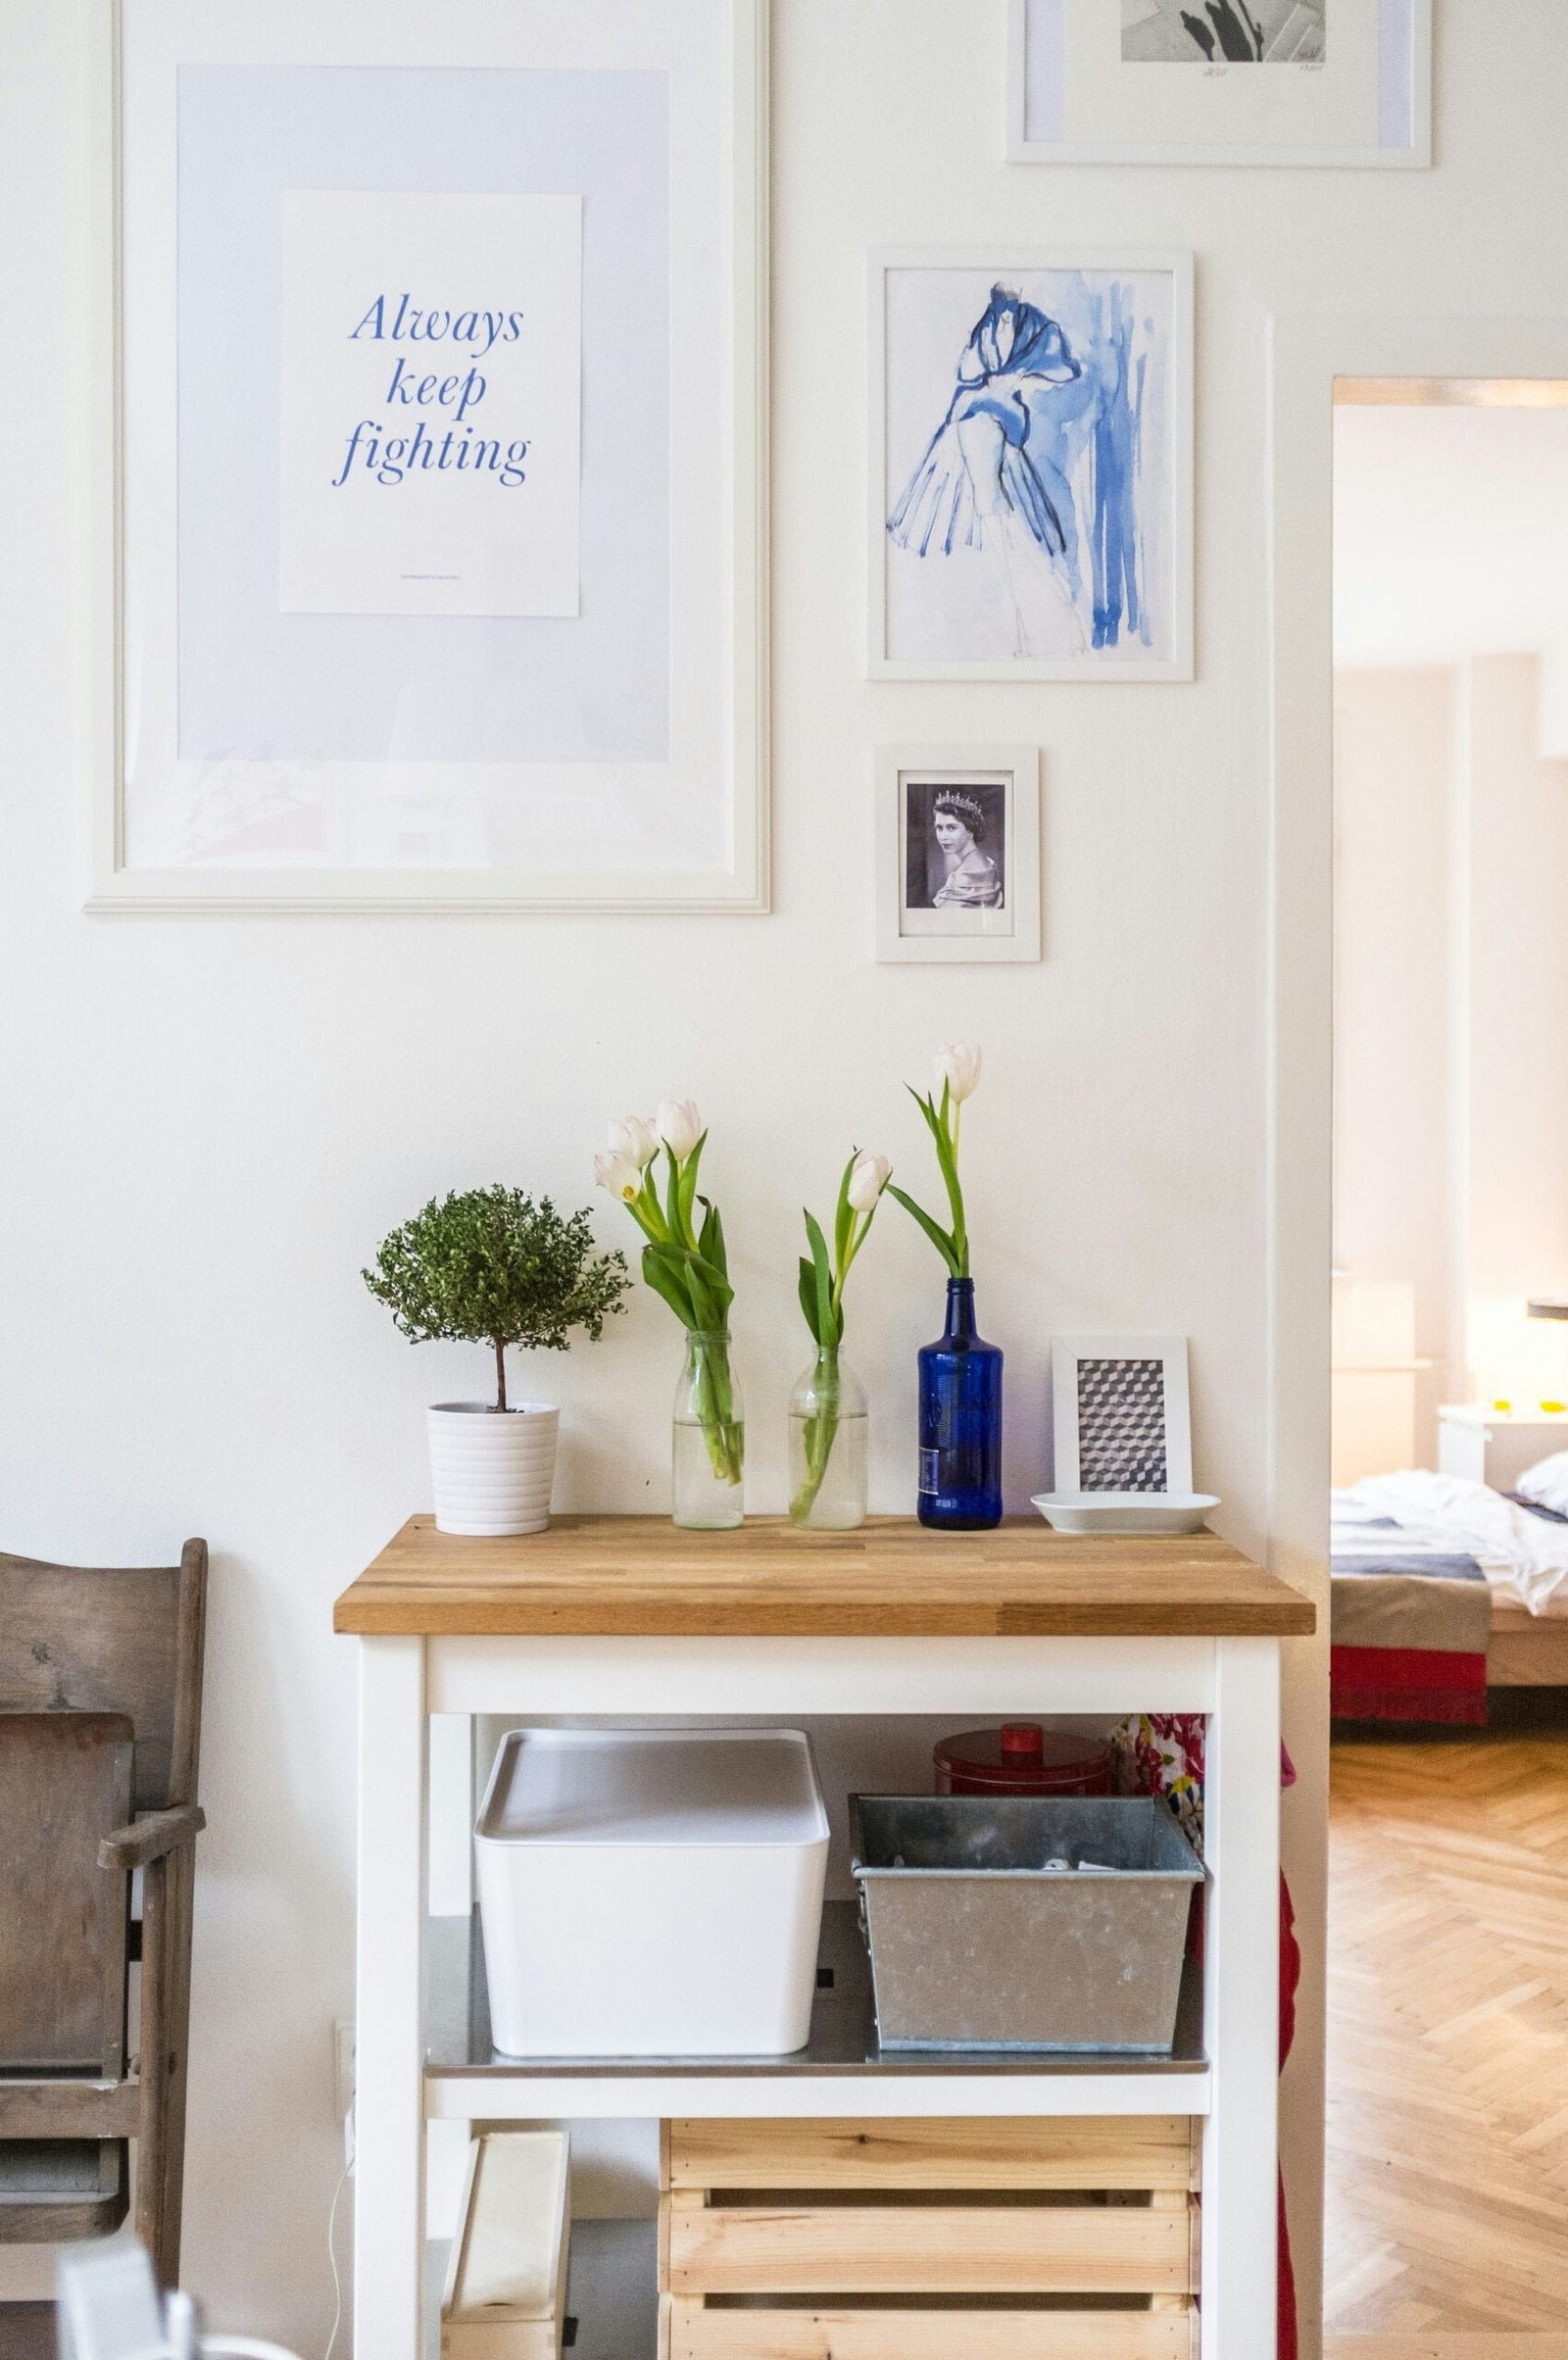
To achieve perfect alignment and keep frames level, a few tools can be particularly helpful. A spirit level will ensure your frames are straight. Measure the distance from the top of the frame to the hanging hardware and mark this measurement on the wall. Use a tape measure to ensure consistent spacing between multiple frames, especially when creating a gallery wall arrangement. Grid patterns and staggered layouts are popular choices for gallery walls, offering a balanced and visually appealing display.
Aligning multiple frames can be challenging, but using painter’s tape can help. Create a template by laying out the frames on the floor and measuring the distances between them. Transfer this pattern to the wall using the tape. This method helps visualize the final arrangement before committing to nails or screws.
Common challenges include ensuring frames stay level over time and avoiding wall damage. Use rubber bumpers on the back corners of frames to prevent shifting and protect the wall. If a frame appears crooked after hanging, adjust the hanging hardware slightly or use a small piece of adhesive putty to stabilize it.
Safety Considerations and Final Touches
When hanging pictures on a wall, safety should be a paramount concern. The use of appropriate hardware is crucial to ensure that frames remain securely affixed, avoiding potential hazards. Each frame’s weight and the type of wall it will be hung on should dictate the selection of hooks, anchors, or screws. For example, drywall may require specialized anchors, while masonry walls might need heavy-duty screws.
Improper installation poses significant risks, from frames falling and causing injury to damaging walls and floors. Frames that are not securely fastened can fall, posing a danger to anyone beneath them, especially young children. To mitigate these risks, always follow the manufacturer’s recommendations and consider consulting with a professional if unsure about the correct hardware to use.
Childproofing is another essential aspect, especially in households with young children. Ensure that frames are out of reach and securely anchored to prevent accidental dislodging. In earthquake-prone areas, additional precautions may be necessary. Use earthquake putty or special hooks designed to keep frames in place during tremors, adding an extra layer of security.
Once frames are safely hung, the final touches can make all the difference in achieving a polished look. Adjusting frames for perfect alignment is key to a visually appealing display. Use a level to ensure each frame is straight, and make slight adjustments as needed.
Cleaning fingerprints off the glass is another essential step. Use a gentle glass cleaner and a microfiber cloth to avoid streaks and scratches. Additionally, adding felt pads to the back of frames can help protect the wall from scuffs and damage.
Finally, it is advisable to periodically check the stability of your hung frames. Over time, walls can settle, and hardware can loosen. Regularly inspecting and re-securing frames ensures they remain safe and securely in place, preserving both your artwork and your walls.
Other related posts from our website:
https://howtobuildahouseblog.com/pictures-above-sofa-quick-living-room-decor-metamorphosis/
https://howtobuildahouseblog.com/take-pictures-inside-your-home-like-a-pro/
https://howtobuildahouseblog.com/how-to-arrange-your-living-room-to-accommodate-the-whole-family/
Thank you so much for your attention.
Stay tuned. We will upload many other amazing posts to our website and videos onto our YouTube channel.
Thank you so much.
for your time and attention.
Best Regards
See you to another post,
Bye, Bye


