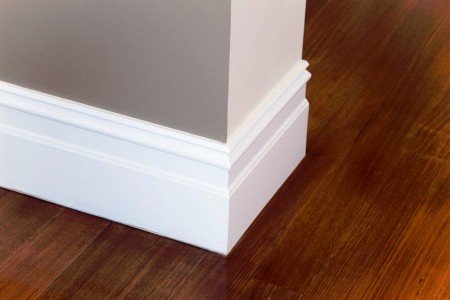
Molding is made usually of PVC material or wood or PVC and is installed generally at the bottom and top of walls (crown molding) with an aesthetic purpose, to improve their look.
However, often molding is installed around the doors and windows perimeter for the same reason, to improve their appearance. Unfortunately, many times after installation, molding can develop thin or even wider cracks, especially where the molding pieces join. These unaesthetic gaps appear generally along the edges due to the natural factors such as contraction and expansion of the wood and can be remedied relatively easy by applying caulk.
Materials & Tools:
Foam caulking cord, Latex Silicone Caulk, Caulk gun
Cup, Scissors or a Cutter, Rubber Gloves
Paper Towels or Clean Cloth
1. Examine carefully the tip of latex silicone caulk tube. You will locate easily the raised ridge of the tube tip. Using the cutter or a pair of scissors cut across the tip ridge at bout a 45-degree angle.
2. Place the caulk tube into your caulk gun and turn gently the screw of the gun (locate in the back of the gun) until it is pretty tight against the tube back end. Now you can squeeze the trigger several times until silicon latex caulk appears at the tube tip.
3. Place carefully the caulk tube tip against the molding at about a 30-degree angle and press the trigger of your caulk gun to apply a caulk bed along the entire molding edge (about 1/8 inch wide).
4. Put on the rubber gloves and place your index finger under the running faucet or dip it into a cup of water.
5. Run your wet finger gently and continue without interruptions, along the entire caulk bead length to smooth it. Then, wipe your finger on a clean cloth or paper towel, removing in this way the excess caulk.
6. However, if the molding gap is wider than 1/8 inch, you should buy foam caulking cord and before applying the silicon latex caulk, cut strips to insert into the gaps.
Small home repairs? Read this post:


