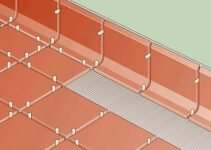
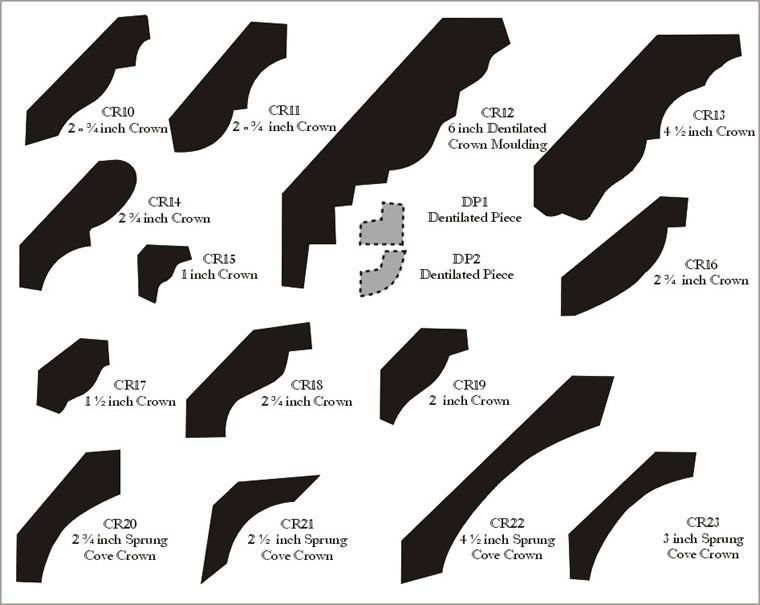
Molding is an architectural item made of PVC material or wood that is installed usually at the bottom (baseboard) and the top (crown molding) of the room walls to enhance their overall look.
There are several other types of moldings in a home such as rail chair molding or molding that is installed around the perimeter of your doors or windows.
However, after a while, molding may develop gaps that appear along the edges or cracks where two different sections join. In fact, this is a natural phenomenon due generally, to the contraction and expansion of the wood. Using caulk, you can easily fix your molding.
Tools & Materials
– Rubber Gloves; Paper Towel; Cup;
– Scissors; Caulking Gun; Utility Knife;
– Silicon Latex Caulk; Foam Caulking Cord;
Steps:
1| Check your molding. If you have only small gaps, smaller than 1/8 inch, you can use only silicon latex caulk. If the gaps are larger, you need first to cut strips from a foam caulking cord and to fill with this strip the gap prior applying the silicon latex caulk.
2| Take the caulking tube and cut its tip using your utility knife. It is indicated that the cut to be made at an angle of 45-degree.
3| Insert the silicon latex tube into your caulking gun. Turn carefully its back screw until it reaches the tube back end. Press gently the trigger several times until the silicone latex caulk shows up.
4| Place the tip of the tube against your molding at an angle between 30-degree and 45-degree and press continue and gently the trigger applying a bead (almost 1/8-inch) of silicone latex caulk along the entire length of the molding edge.
5| Pour some water into a cup and put on your rubber gloves. Dip your finger into the water.
6| Run your finger along the silicone caulk bead smoothing it. Using a piece of paper towel wipe your finger from time to time and remove the excess of caulk.
Crown Molding Installation | How To Build A House (howtobuildahouseblog.com)


