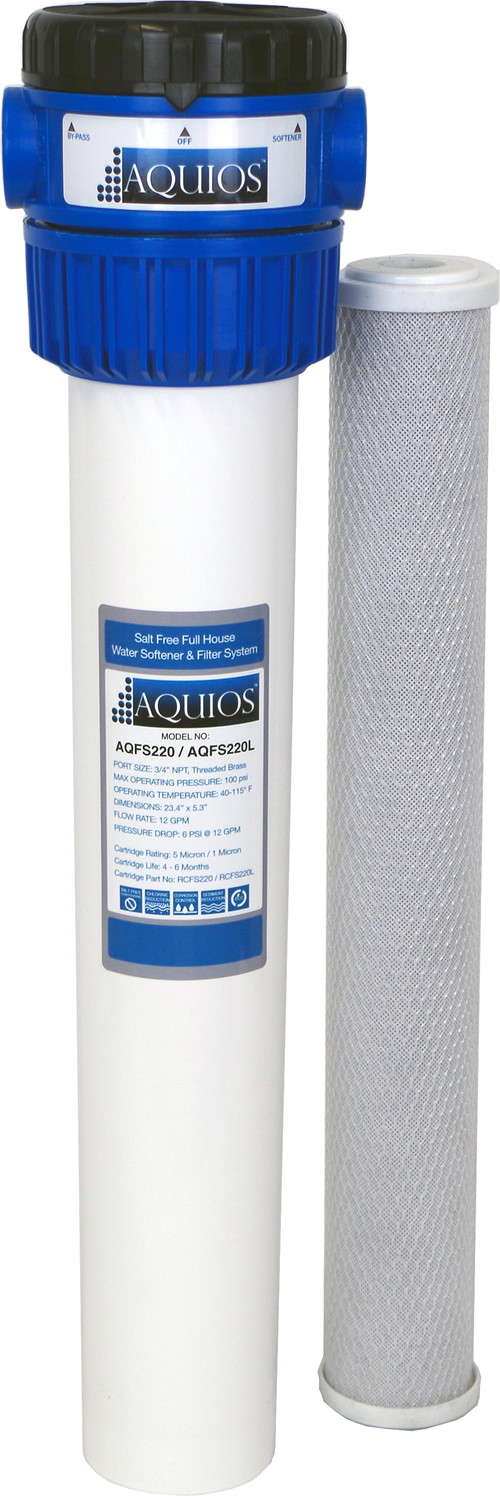
Why should you install a water softener? Generally, ground water has excessive minerals in and for that is called hard water.

Buy water filtration systems on Houzz
It is known soap and detergent don’t dissolve very well in hard water and stain sinks, tubs and toilets.
The role of the water softener is of course, to soft the water.
At the first glance installation of the water softener seems to be difficult, but it can be for handy homeowner.
Let’s say it is a moderate task for someone who read the instructions and has the proper tools.
Installation of Water Softener
1. Like in every DIY project, preparation is important. Before you start the installation and read all the directions that came with your water softener.
Tools and things you will need:
Water softener; Curb key; Measure tape; Extension cord; Soldering iron; Fittings; Copper tubing; Wrench; Screw driver; Steel wool; Softener sodium chloride or potassium chloride salt; Propane torch.
2. Than, using a curb key shut off the water at the main shutoff valve, and turn off the power to your hot water heater from the electrical panel. Turn on a faucet at the highest and lowest point in the house to check if the shutoff valve is working properly.
3. Open all the water lines fixtures to drain bon the pipes.
4. Try to find a good position for your water softener. Look for a proper place. Generally, water softener have 2 tanks, and in this case you should position the larger one (the brine tank) and the smaller one (the resin tank) near one another.
5. Using measure tape, find the length between the cold water pipe and the bypass ports on the water softener tanks. Then, measure that length and cut a piece from copper tubing. You need to solder fittings to the both ends of the piece of the copper tubing.
6. Read carefully the manufacturer’s direction about the discharge tube installation on the water softener head.
7. Having the overflow tube attached to the side of the water conditioner tank you should run and discharge it to a drain, providing drainage.
8. Using a wrench attach the bypass valve to the control valve. Tighten the nuts of the supply tube, but yet not too tight.
9. Next step is connection of the copper tubing from the water softener to the pipes. Using steel wool you need to scrub the fittings and the pipes. Take your propane torch and solder the fitting to the water line.
10. Go to the electric panel and turn on the power for the electric heater. Go also to the main water shutoff valve and turn it on slowly.
11. After control valve plugging, pour almost 4 gallons of water into the larger (brine) tank of the water softener. Setting up of the brine tank means you should to add almost 40 lbs. of sodium chloride or potassium chloride to the water softener.
12. What you need now is to set your water softener and then to set the bypass valve to the service position. Slowly open the water supply only 1/4 of the way to allow air to escape.
13. You can turn completely the valve only you don’t have air in the pipe and you have a constant jet of water at the drain.
14. It is important to run your water softener through a completely rinse cycle.
15. The last step is to test your soldering and nuts for leaks.
Modern Kitchen/Dining Open Space – Best New Ideas (howtobuildahouseblog.com)


