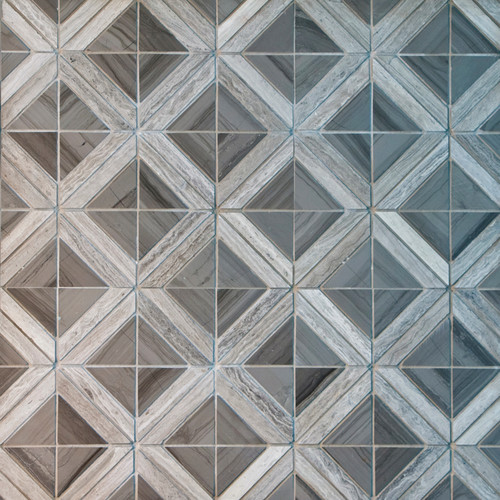
Installing marble mosaic tiles in your home is a great option for home-makers to easily redecorate any surface at home. Whenever it comes to decorate home marble mosaic tiles come at the top of the building material list.
If you love the elegant look of marble tile, perhaps you’ve considered all of the places where you could incorporate this look.

Find the perfect mosaic tile product on Houzz
No long time ago, marble was considered a luxury few could afford but today this beautiful material fall in the reach of almost every homeowner.
Whether you use it as a backsplash in the kitchen or as a wall or floor treatment in the bathroom, you are sure to have many years of wear from marble mosaic tile.
Marble mosaic tiles come in a wide range of colors including white, black, beige and onyx. Also they are available in different shapes and sizes for easy installation.
Materials & Tools:
- Utility Knife; Tape measure; Tile mortar; Bucket; Notched trowel; Marble mosaic tile; Spacers;
- Tile nippers; Tile grout; Grout float; Marble tile sealant; Sponge; Plumb line
Steps:
There are many colors and styles of marble tiles you can use for your mosaic. They also vary in size and cost. You’ll normally find mosaic marble in meshed sheets. People with creative bend of mind and a desire to try hands at new things can produce great designs with mosaic marble tiles.
1 – Unpack the tile to allow it to come to room temperature. Lay the tiles out on the floor so you can see the pattern. Then, place the tiles in different arrangements to see what overall patterns you like best.
2 – Prepare the surface; if the surface is drywall you need to remove the paint. Then, you need to seal the wall underneath with drywall to turn it into a smooth surface.
3 – Take out any electrical outlets, witches, covers, trims, and masked areas. Cover up any outlets that you don’t use or need.
4 – Use plumb line to establish straight lines. Mark these lines on the wall or floor where you are installing the tile.
5 – Mix your mortar. Apply it with the notched trowel. Try to keep the depth of the adhesive mortar equal.
6 – As you begin applying the tiles, remember that it’s a smart idea to start with a small area. Place it on the mortar. Cut any excess marble tile away with the tile nippers (use the utility knife to cut through the backing if necessary). Set the marble’s rough side evenly into the mortal. Throughout the process, place your spacers evenly.
7 – After you finish this small area, repeat this process for each tile section. Do this until the entire area is covered. When all the sections are in place, allow them to dry.
8 – Grout the tile. Push the grout into the spaces from all angles to get good coverage. Allow the grout to dry for approximately 30 to 60 minutes.
9 – Remove all the grout from the surfaces of the mosaic tile. Wipe the tile with a clean, damp sponge.
10 – After the grout is dry completely you may seal the marble mosaic tile with marble sealant.
Choosing Tiles for Your Bathroom | How To Build A House (howtobuildahouseblog.com)


