Learn how to identify and repair different types of scratches on parquet floors, from light surface abrasions to deep gouges. This comprehensive guide covers essential preparation steps and effective techniques, ensuring your flooring remains beautiful and durable. Master scratch repairs with detailed methods for light scratches, moderate damage, and severe gouges, including tips on using wood fillers, sanding, refinishing, and replacing damaged tiles.
Understanding the Types of Scratches on Parquet Floors
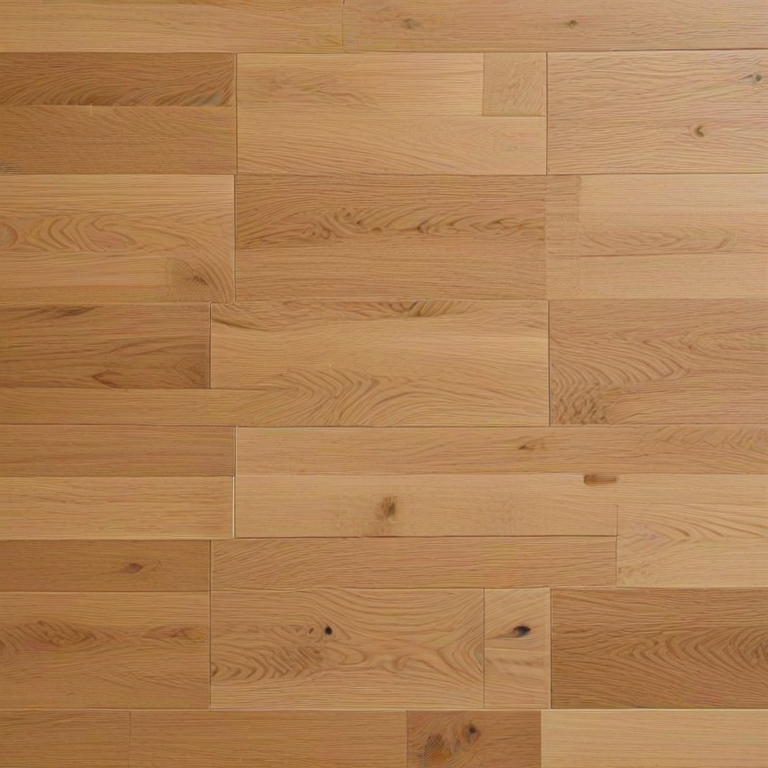
Parquet floors, prized for their aesthetic appeal and durability, are nonetheless vulnerable to various types of scratches. These imperfections, often arising from daily wear and tear, can range from light surface scratches to deep gouges. Recognizing the severity and cause of a scratch is essential for effective repair.
Light surface scratches generally affect only the finish layer of the parquet. These minor scratches are usually caused by abrasive particles such as dust and dirt being dragged across the floor. High foot traffic areas and entrances are particularly susceptible. Furniture movement, often without protective pads, can also contribute to these surface abrasions. Although these scratches might appear serious, they typically do not penetrate the wood itself.
Please, read our post and do not forget to check my YouTube channel “Grig Stamate – Interior Design Solutions”:
https://www.youtube.com/@GrigStamate
You will find here, thousands of ideas for your home interior and outdoors.
Allow me to mention one of them:
Beautiful Living Rooms, #16: 50 Floor Vases and Large Plant Pots for Stylish Decor (video)
Moderate scratches can expose the wood grain underneath the finish. These are often the result of more substantial contact, such as the dragging of heavier objects or frequent movement of furniture. Pets, particularly those with unclipped nails, can also contribute significantly to moderate scratches, causing both surface damage and slight indentations in the wood.
Deep gouges are the most severe type of scratches and are often caused by heavy impacts or sharp objects. Examples include dropped items, such as kitchen utensils or tools, and heels with pointed tips. These significant scratches penetrate through the finish and into the wood, compromising the structural integrity and aesthetic of the parquet flooring. Addressing deep gouges requires more comprehensive repair methods.
Identifying and understanding these different types of scratches ensures that the appropriate repair technique is selected. Light scratches may be addressed with simple touch-ups and polishing, while moderate and severe scratches might necessitate sanding, filling, or even replacement of individual parquet tiles. By recognizing the distinguishing features of each scratch type, homeowners can better maintain the longevity and appearance of their parquet floors.
Preparing the Parquet Floor for Repair
Before embarking on the repair of scratches on your parquet floor, it is vital to prepare thoroughly. The first step is to clean the area comprehensively. Use a soft-bristled broom or vacuum with a soft brush attachment to remove loose dirt and debris from the floor. Then, gently mop the floor with a damp cloth, ensuring all dust and grime are removed. Avoid using excess water, as parquet flooring can be sensitive to moisture.
Once the floor is clean, the next task is to assess the type of wood and finish of your parquet flooring. Parquet floors can be made from various types of wood, such as oak, walnut, or maple, each having distinct characteristics. Knowing the specific type of wood will guide you in selecting the appropriate repair products and techniques. Additionally, determining the finish—whether it’s varnished, oiled, or waxed—will influence the repair procedure and the selection of compatible materials.
With the wood type and finish identified, gather all necessary tools and materials. Essential items include wood filler, suitable for your wood species, and sandpaper of varying grits. Medium-grit sandpaper is useful for initial abrasion, while fine-grit sandpaper helps achieve a smoother finish. Additionally, gather a soft cloth, a wood polish or finish compatible with your floor, and a putty knife for applying the wood filler. If deeper scratches require it, consider obtaining a wood stain that matches your floor color to blend the repair seamlessly.
Proper preparation is key to ensuring a smooth and effective repair process. By meticulously cleaning the area, understanding your floor’s materials, and gathering the appropriate tools and materials, you lay the groundwork for a flawless restoration of your parquet floor.
Repair Techniques for Light and Superficial Scratches
Light and superficial scratches on parquet floors can often be repaired using simple home remedies and techniques that restore the floor’s appearance without extensive refinishing. The first step in addressing these minor abrasions is identifying the appropriate method tailored to the severity of the scratch and the type of wood finish. Below, we outline several effective techniques to help you maintain your parquet floor’s pristine condition.
One of the easiest and most accessible methods involves using a wood marker or crayon that closely matches the floor’s color. These tools are specifically designed for minor touch-ups and can be easily found in home improvement stores. To use a wood marker, begin by cleaning the scratched area to remove any dirt or debris. Apply the marker directly onto the scratch, following the grain of the wood, and allow it to dry thoroughly. For a more polished look, gently buff the area with a soft cloth afterward. Crayons can be applied similarly, by pressing the crayon into the scratch and smoothing out the color using your fingers or a cloth.
Another effective technique is applying a layer of protective wax. Furniture wax or specially formulated floor waxes can provide a smooth finish and add a protective layer to minor scratches. Start by cleaning the floor to ensure it’s free from dust and dirt. Using a soft cloth, apply a small amount of wax over the scratched area, working it gently into the wood. Once applied, let it sit for a few minutes before buffing it with a clean, dry cloth to achieve a shiny finish. This method not only conceals scratches but also enhances the overall luster of the parquet.
For those looking to even out very shallow scratches, using a floor buffer can be beneficial. Buffers, typically used in conjunction with a fine-grit pad, can smooth out surface imperfections and restore the floor’s natural shine. To use a buffer, begin by cleaning the floor area to be treated. Carefully follow the manufacturer’s instructions for operating the buffer and make even passes over the scratched surface. This process will require some patience and careful handling to avoid over-buffing any one spot.
Utilizing these straightforward techniques for light and superficial scratches allows you to preserve the beauty of your parquet floors with minimal effort and cost. Simple, yet effective remedies like wood markers, protective waxes, and buffers ensure that your flooring remains an enduring asset to your home.
Dealing with Deep Scratches and Gouges
When it comes to deeper scratches and gouges on your parquet floor, more intensive repair techniques are required to restore its original appearance. One effective method for addressing significant damage involves using wood filler or putty to fill in the deep scratches. Begin by selecting a wood filler that matches the color of your parquet floor. Clean the affected area thoroughly, removing any debris or loose particles. Apply the wood filler into the scratch, ensuring it is evenly distributed. Use a putty knife to smooth out the surface, and let it dry as per the product’s instructions.
In some cases, sanding and refinishing the affected area may be necessary. Before starting the sanding process, ensure your workspace is well-ventilated and you are wearing appropriate safety gear, such as a dust mask and goggles. Use a fine-grit sandpaper to gently sand the damaged area, taking care to blend the edges with the surrounding floor. Sand with the grain of the wood for the best results. After sanding, clean the area to remove any dust and apply a matching wood stain. Allow the stain to dry completely before applying a clear coat of polyurethane for protection.
For gouges or scratches that are too severe for wood filler or sanding alone, replacing the damaged parquet tiles might be necessary. Carefully remove the damaged tile by gently prying it up with a chisel and hammer. Clean the subfloor beneath the removed tile to eliminate any adhesive residue. Apply a suitable parquet adhesive to the back of the replacement tile and press it firmly into place. Make sure the tile is level with the surrounding floor, and allow the adhesive to dry fully before walking on it.
Throughout the repair process, always follow safety precautions and manufacturer’s instructions closely. Use high-quality materials to ensure a lasting repair and maintain the aesthetic appeal of your parquet floor. By employing these techniques, you can effectively address deep scratches and gouges, restoring the beauty and functionality of your parquet flooring.
Other related posts from our website:
https://howtobuildahouseblog.com/installing-interlocking-finished-wood-parquet-tile-flooring/
https://howtobuildahouseblog.com/the-best-type-of-sander-to-refinish-an-oak-parquet-floor/
https://howtobuildahouseblog.com/a-comprehensive-guide-to-wood-flooring-options/
Thank you so much for your attention.
Stay tuned. We will upload many other amazing posts to our website and videos onto our YouTube channel.
Thank you so much.
for your time and attention.
Best Regards
See you to another post,
Bye, Bye


