Introduction
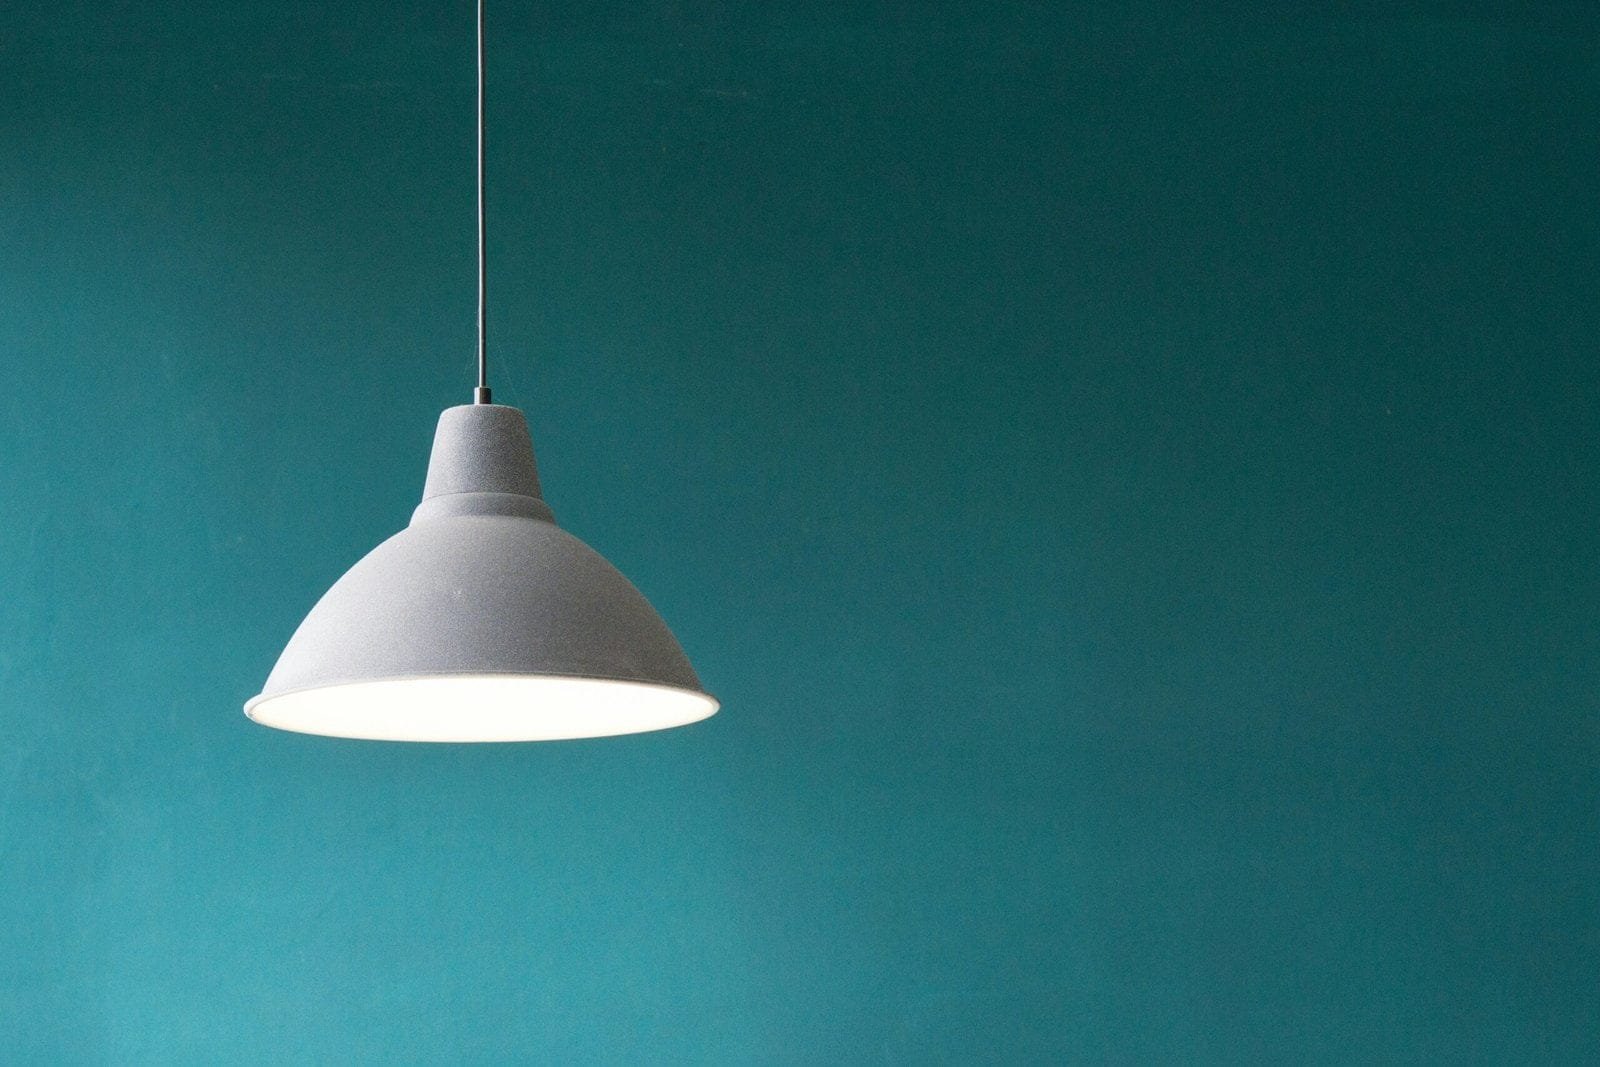
Renovating a lamp with chalk paint is a fantastic way to give new life to an old or outdated lamp. Chalk paint is not only easy to use, but it also provides a beautiful matte finish that can transform the look of any lamp. In this DIY guide, we will take you through the step-by-step process of renovating a lamp with chalk paint, from prepping the lamp to applying the paint and adding finishing touches. So, let’s get started and give your lamp a fresh and stylish makeover!
Please, read our post and do not forget to check our YouTube channel “Grig Stamate”:
https://www.youtube.com/@GrigStamate
You will find there, thousands of designing, furnishing, and decorating ideas for your home interior and outdoors.
Smart Design Ideas for Under-Stair Spaces (video)
Gather Your Supplies
Before you begin renovating your lamp with chalk paint, it’s important to gather all the necessary supplies. Here’s a list of what you’ll need:
- Lamp – Choose a lamp that you want to renovate. It can be an old lamp you already have, or a thrift store find.
- Chalk paint – Select a color of chalk paint that suits your style and complements your decor.
- Paintbrushes – Get a few different sizes of paintbrushes to ensure you can reach all the nooks and crannies of your lamp.
- Sandpaper – You’ll need sandpaper to rough up the surface of the lamp and create a better bond for the paint.
- Painter’s tape – Use painter’s tape to cover any areas of the lamp that you don’t want to paint.
- Drop cloth or newspaper – Protect your work surface by laying down a drop cloth or newspaper.
- Clear wax or sealant – Once the paint is dry, you’ll need a clear wax or sealant to protect the finish and make it more durable.
- Optional: Decorative elements – If you want to add some extra flair to your lamp, consider adding decorative elements like stencils, decals, or a new lampshade.
Prep Your Lamp
Now that you have all your supplies ready, it’s time to prepare your lamp for painting. Follow these steps:
- Clean the lamp – Use a damp cloth to wipe down the lamp and remove any dust or dirt. This will ensure a smooth surface for the paint to adhere to.
- Remove any hardware or electrical components – If your lamp has any removable hardware or electrical components, such as the lampshade or lightbulb, take them off before painting.
- Sand the lamp – Use sandpaper to lightly rough up the surface of the lamp. This will help the paint adhere better and create a more durable finish. Be sure to sand in the direction of the grain or texture of the lamp.
- Wipe off the dust – After sanding, wipe off any dust or debris with a clean cloth or tack cloth. This will ensure a clean surface for painting.
Apply the Chalk Paint
Now that your lamp is prepped and ready, it’s time to apply the chalk paint. Follow these steps:
- Stir the paint – Chalk paint can sometimes separate, so give it a good stir with a paint stirrer or a wooden stick. Make sure the paint is well mixed before applying.
- Start painting – Dip your paintbrush into the chalk paint and start applying it to the lamp. Use even strokes and work in one direction for a smoother finish. Start with the larger areas of the lamp and then move on to the smaller details.
- Apply multiple coats – Depending on the color and coverage you desire; you may need to apply multiple coats of chalk paint. Allow each coat to dry completely before applying the next one. This will ensure a more even and opaque finish.
- Let it dry – Once you have achieved the desired coverage, let the paint dry completely. This can take a few hours or overnight, depending on the brand of paint and the temperature and humidity in your space.
Add Finishing Touches
After the paint has dried, it’s time to add the finishing touches to your renovated lamp. Follow these steps:
- Distress the paint (optional) – If you want to achieve a distressed or vintage look, you can lightly sand certain areas of the lamp after the paint has dried. Focus on the edges and raise details to create a worn effect.
- Apply clear wax or sealant – To protect the paint and make it more durable, apply a clear wax or sealant. Use a clean cloth or brush to evenly apply the wax in a circular motion. Allow the wax to dry according to the manufacturer’s instructions.
- Reassemble the lamp – Once the wax is dry, reassemble any hardware or electrical components that you removed earlier.
- Optional: Add decorative elements – If you want to add some extra personality to your lamp, consider using stencils, decals, or even a new lampshade. Get creative and have fun with it!
Conclusion
Renovating a lamp with chalk paint is a fun and rewarding DIY project that can completely transform the look of your lamp. With just a few supplies and some simple steps, you can give new life to an old or outdated lamp and create a stylish and personalized piece for your home. So, gather your supplies, follow the steps outlined in this guide, and get ready to enjoy your beautifully renovated lamp!
Other related posts from our website:
Let’s see here, three of them:
https://howtobuildahouseblog.com/reviving-your-flat-couch-cushions-a-diy-guide/
https://howtobuildahouseblog.com/room-dividers-smart-diy-and-creative-ideas-2/
Thank you so much for your attention.
We also sincerely hope you like our ideas from this post, and you have also enjoyed our uploaded YouTube video.
See you next time at another article.
Thank you so much for your time. Bye now!


